There are advantages of creating separate User Accounts on a Windows 11 or Windows 10 PC. However, you may encounter the issue whereby Windows is creating multiple user accounts automatically. This post provides the most suitable solutions affected PC users can apply to resolve the issue.
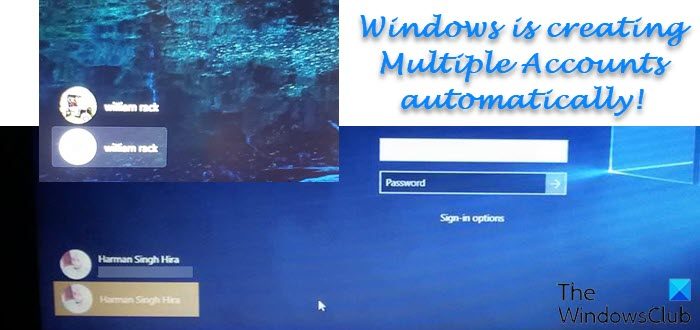
Windows is creating Multiple Accounts automatically
If you notice Windows is creating Multiple Accounts automatically on your Windows 11/10 PC, you can try our recommended solutions below in no particular order and see if that helps to resolve the issue.
- Delete/Remove the User Account
- Run AV scan
- Run SFC scan
- Uninstall recent Windows update
- Perform System Restore
- Reset Windows 11/10
Let’s take a look at the description of the process involved concerning each of the listed solutions.
1] Delete/Remove the User Account
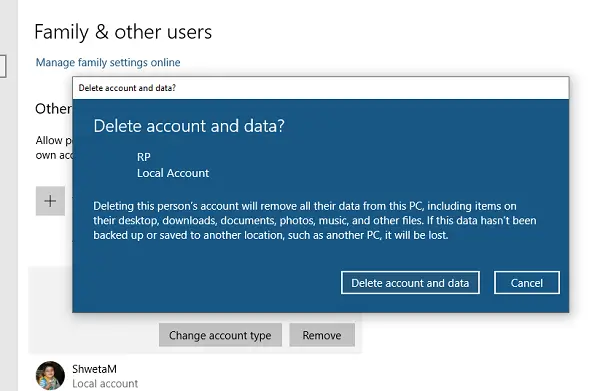
If Windows is creating multiple accounts automatically on your Windows 11/10 computer, you can resolve the issue by simply deleting or removing the unwanted user account. To perform this task, follow the instructions in the guide on how to delete a User Account. If after you delete the user account but it still shows on the login screen, you can follow the instructions in the guide on how to remove deleted User Account from the login screen.
As reported by some affected PC users, if there is no option of managing user account in Family & other users settings or there are no other user accounts listed in User Accounts in Control Panel, you can try the next solution.
2] Run AV scan
This solution follows if you have only one user account on your system, but still, you are getting two login users on the login screen – it means it could be due to some malware infection. In this case, to rule out the possibility and check if your system is infected, you can run your AV scan. If you want to take a second opinion, you can use any one of these free Standalone On-demand Antivirus Scanners.
3] Run SFC scan
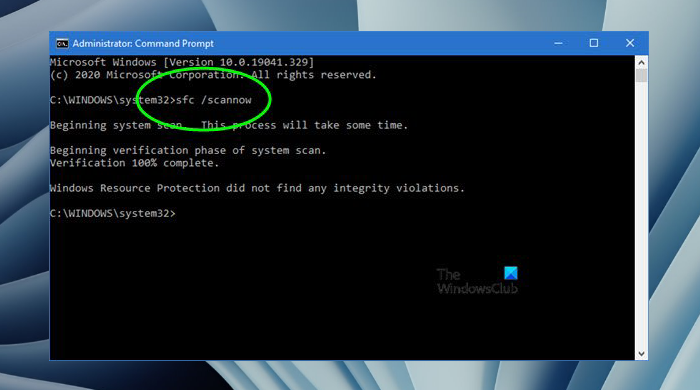
System file corruption is a likely culprit to the issue in highlight. In this case, to resolve the issue, you can run SFC scan and see if that helps. The sfc/scannow command will scan all protected system files, and replace corrupted files with a cached copy that is located in a compressed folder at %WinDir%\System32\dllcache.
Note: Once you initiate the scan, do not close the Command Prompt window until the verification is 100% complete. The scan results will be shown after this process is finished.
4] Uninstall recent Windows update
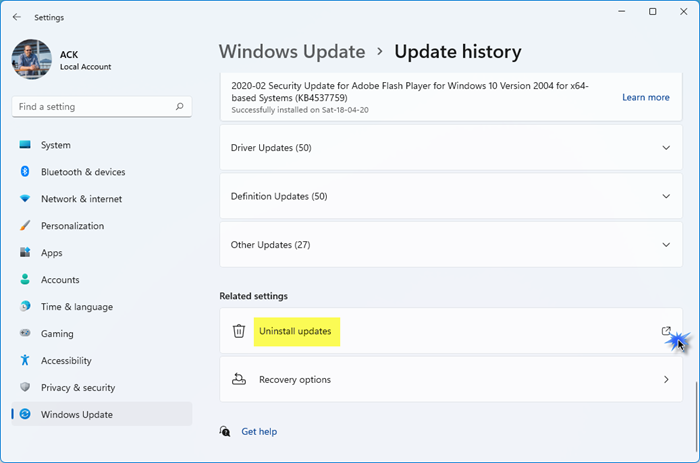
Most affected PC users reported they started experiencing the issue in hand after updating Windows. In this case, to resolve the issue, you can uninstall the ‘buggy’ update or you can try the next solution. But, before you uninstall the update, make sure the auto sign-in after an update option is not enabled. If the option is enabled, disable it, then restart your PC and see if the issue is resolved.
5] Perform System Restore

You may be experiencing this issue due to a recent Windows update you installed on your device or due to a change that your system has gone through recently which you are totally unaware of. In this case, you can use System Restore (any changes like application installs, user preferences and anything else made after the restore point will be lost) to revert to a date prior to when you noticed the issue you’re currently facing.
To perform System Restore, do the following:
- Press Windows key + R. to invoke the Run dialog.
- In the Run dialog box, type rstrui and hit Enter to launch the System Restore Wizard.
- At the initial screen of System Restore, click Next.
- At the next screen, check the box associated with Show more restore points.
- Now, select a restore point prior to when you noticed the issue on your device.
- Click Next to advance to the next menu.
- Click Finish and confirm at the final prompt.
If the issue persists, proceed with the next solution.
6] Reset Windows 11/10
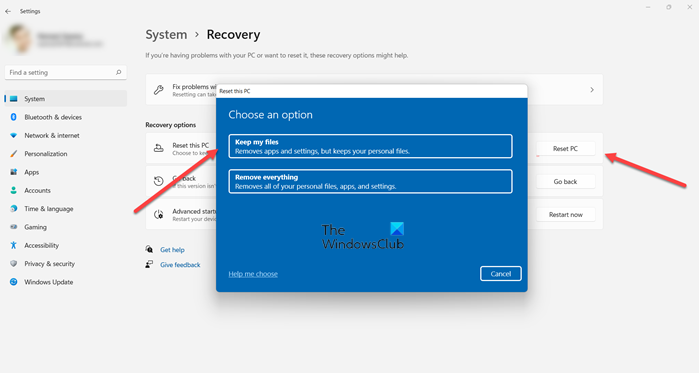
As a last resort, if nothing has worked up to this point, you can reset your Windows 11/10 PC and see if that fixes the error in view. When performing the reset, choose the option to Keep your personal files.
Hope this helps!
Related: Advantages of creating separate User Accounts on a Windows PC
How to remove duplicate user account in Windows?
To remove a duplicate user account on your Windows 11/10 PC, do the following:
- Press Windows key + R to invoke the Run dialog.
- In the Run dialog box, type netplwiz and hit Enter.
- In the User Account applet that opens, if you see two same user names in the list, select one.
- Click Remove.
- Restart PC.
How do I remove a connected Windows account?
If you need to remove an account from your PC, do the following:
- Select Start > Settings > Accounts > Access work or school.
- Select the account you wish to remove.
- Select Disconnect.
- Select Yes to confirm your actions. Note that this will not delete the account entirely, it will just remove access from your PC.
Why do I have 2 Windows logins?
You’re likely to see two duplicate user names on your login screen if the auto sign-in option is enabled after an update. After an update, the new Windows 11/10 setup may detect your username twice. You may need to disable the auto-sign-in option to rectify this.