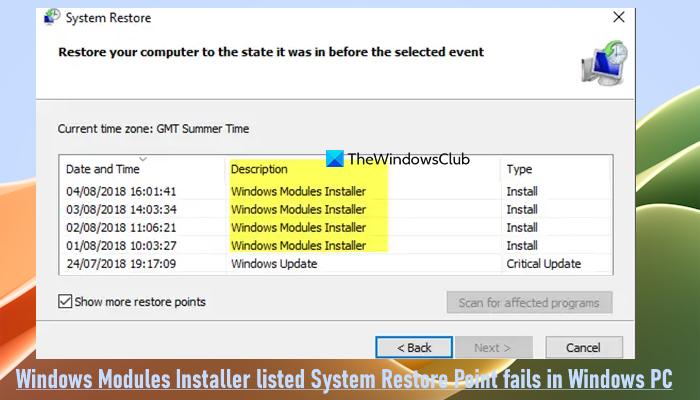
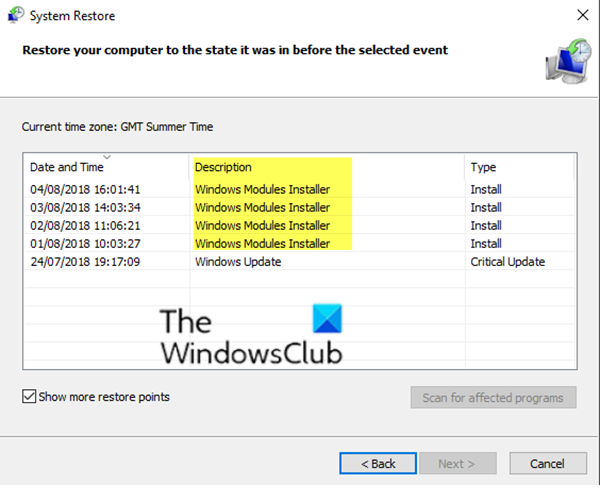
If you try to restore your Windows 11/10 computer to the Windows Modules Installer created System Restore point and it fails, then this post is intended to help you. In this post, we will provide the workarounds you can try to help you resolve this System Restore issue.

The Windows Modules Installer Worker or WMIW or TiWorker.exe checks for new updates from the Windows server and installs them on your computer system. So this process may create a system restore point before installing Windows Updates.
Let’s take a look at a typical scenario where you can encounter this issue.
You start Windows in Audit mode. In the system event log, you find the following event entered:
The start type of the Windows Modules Installer service was changed from On-demand start to Auto start.
You now manually turn on system protection as follows:
Select System Protection > Configure > Restore settings > Turn on system protection, and then select Apply.
In this scenario, a Windows Modules Installer restore point appears.
But, if you try to restore the system to this restore point, the system restore process fails.

Additionally, when you start the computer to out-of-box experience (OOBE) status, the computer cannot start, and it generates a Something went wrong error message.
Windows Modules Installer – System Restore Point fails
If you’re faced with this issue, you can try either of the two recommended workarounds presented below to resolve the issue on a Windows 11/10 PC:
- Undo System Restore
- Perform Reset This PC operation.
Let’s take a look at the description of the process involved in each of the listed solutions.
1] Undo System Restore
To undo System Restore to fix the issue of Windows Modules Installer system restore point fails, do the following:
- Start the computer, and press F11 to boot to the Windows Advanced Startup Options menu.
- Select Troubleshoot.
- Select Advanced Options.
- Select System Restore.
- Select Undo System Restore to undo the previous system restoration.
- Follow the on-screen instructions.
2] Perform Reset This PC operation
This workaround requires you to perform a PC reset to fix the issue.
Here’s how:
- Start the computer, and press F11 to enter the Windows 10 Advanced Startup Options menu.
- Select Troubleshoot.
- Select Reset this PC. Alternatively, you can open the Settings app > System category > and press the Reset PC option in the Recovery options section.
- Make sure that you opt to Keep my files.
- Follow the on-screen instructions.
That’s it!
Related read: Troubleshoot System Restore in Windows
How do I fix System Restore error in Windows 11/10?
If the System Restore is not working, failed or did not complete successfully on your Windows 11/10 system, then you can use some workarounds to fix this issue or error. First, try to manually create a system restore point, and see if it works. Also, disable any third-party security tools you’re using, boot your computer into Safe Mode and then create it. Additionally, you can use the built-in System File Checker tool, repair the system image, Run ChkDsk tool, or check event logs to find the problem and fix it.
How do I enable restore point in Windows 11?
To enable or turn on the restore point or System Protection in Windows 11, open the Settings app. Access the System category and then the About page. Scroll down the page and click on the System protection option. Now System Properties window will option. Switch to the System Protection tab and click on the Configure button. Select the Turn on system protection option and press the OK button.
Read next: Failed to create System Restore Point, Error 0x80070422.
Leave a Reply