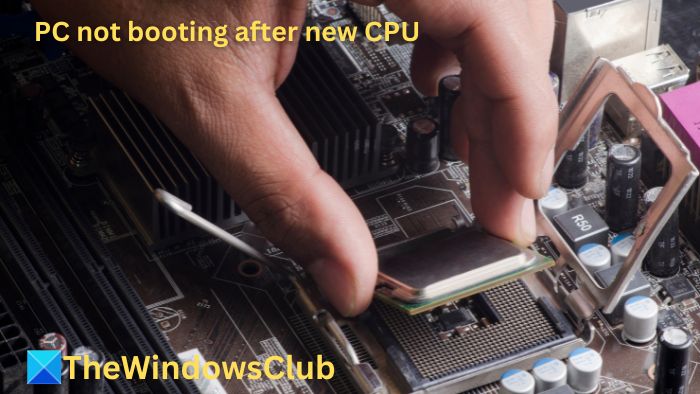
If you recently upgraded or changed your CPU, and your Windows 11/10 computer is not booting up, then this post will help you fix the problem.

Before we start, let’s look at the possible reasons for the boot failure.
- Damaged CPU sockets or pins: If damaged, CPU sockets or pins can lead to failure in communication between the processor and the motherboard. Hence, the system may fail to initialize once switched on, leading to complete power failure during the boot process even after repeated attempts.
- Incompatible or outdated BIOS or UEFI: An outdated BIOS may not have the necessary tools or microcode updates required by the CPU to initialize once the system is powered on, and hence, it may not be able to proceed with the start-up process.
- Insufficient Power Supply to CPU: Swapping to a new CPU might require more power than your current system provides. This can lead to startup failures if the motherboard can’t deliver enough power or the socket isn’t designed for the new CPU’s voltage.
Read: How to test your computer’s Power Supply Unit (PSU).
Fix Windows PC not booting after new CPU
Since the cause of the error can either be due to hardware or BIOS issues, the below-mentioned steps can be performed to fix the said error:
- Disconnect Peripheral Devices and Cables
- Reset CMOS Jumper
- Check CPU in another system
- Switch over to CSM or Legacy Boot
- Update BIOS
1] Disconnect peripheral devices and cables
To confirm that the cause of the problem is not occurring due to the malfunctioning of any other peripheral devices, we can start the troubleshooting process by :
- Disconnecting all cables from the computer, excluding the keyboard.
- The power cable, too, needs to be disconnected and then connected back after a few minutes.
- The system can now be powered on to check whether the Windows logo is appearing. The issue might be with the peripheral devices if the Windows logo appears.
- The cables can now be connected one by one. If the problem reappears after connecting a particular cable, we can safely conclude that the issue lies with that cable itself, and hence, replacing it can resolve the problem.
2] Reset the CMOS Jumper

Resetting the CMOS Jumper erases the manual changes. Doing so forces the BIOS to use its default settings, which are optimized for working with a wide range of CPUs, thereby eliminating compatibility issues.
- Power off the system and open the cabinet cover.
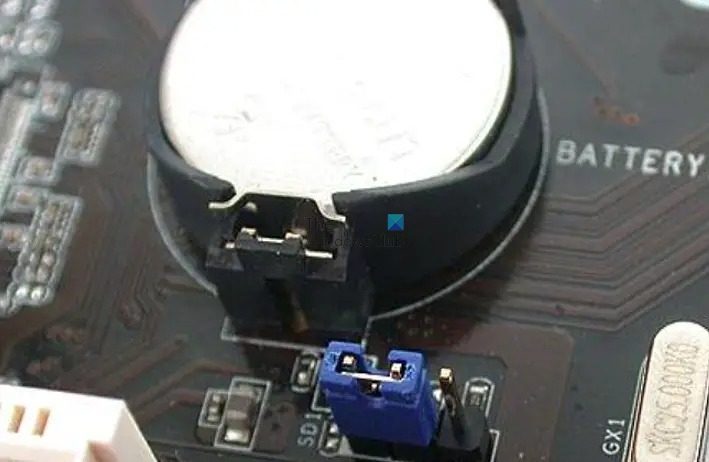
- Locate the CMOS jumper, a 3-pin combination beside the CMOS battery.
- Move the jumper from the default 1-2 position (covering the pins) to the 2-3 position (jumper covering pins 2-3 instead of 1-2).
- Wait a few minutes, then move the jumper back to the default position (1-2) and power on the system once done.
Note: It is advised that the jumper resetting should be performed after checking the motherboard’s manual, as the location of the jumper and the settings may not be the same for every manufacturer.
3] Switch over to CSM or Legacy Boot

As the name suggests, the CSM or Compatibility Support Module is a bridge that allows old BIOS-based OSs to work on modern UEFI Firmware-based systems. The traditional BIOS-based booting process involves loading the OS and the device drivers from the Master Boot Record (MBR) to the storage device.
Switching over to CSM from UEFI allowed the system to revert to a BIOS-like mode, allowing compatibility with older hardware and drivers. CSM also provides more flexible booting options, which can help the system recognize and initialize the new CPU during the booting process.
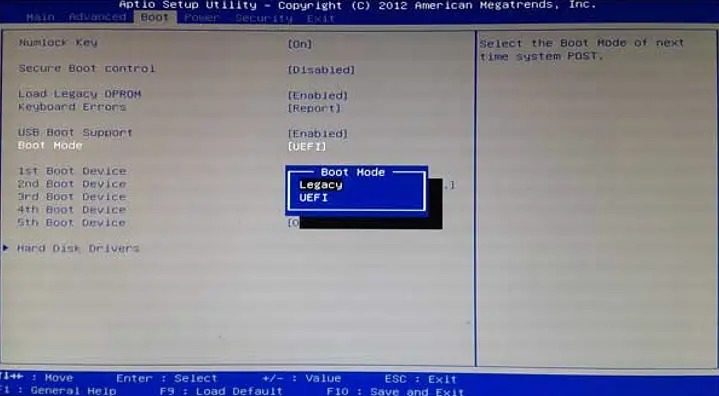
- Restart the system and press the DEL or F2 key to enter the BIOS/UEFI.
- Check for options like Boot Mode or Type (option may vary with manufacturer) under the BOOT section.
- Use the arrow keys to navigate the Boot Mode option, press ENTER, and choose the LEGACY option.
- Press F10 to save the changes and restart the system to check whether the problem is resolved.
Read: Restore, Fix, Repair Master Boot Record (MBR) in Windows.
4] Update BIOS or UEFI

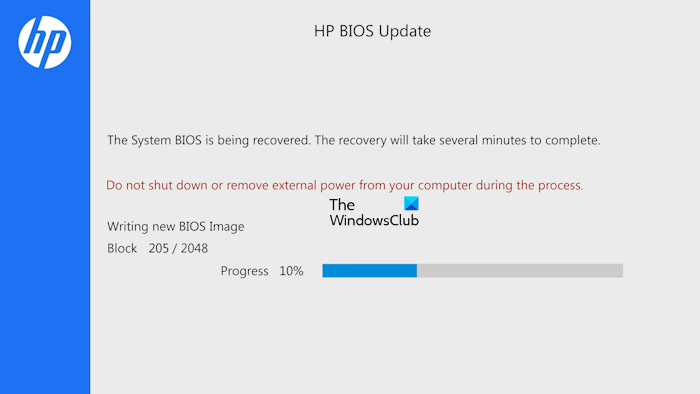
At times, the new CPU added may not be compatible with the BIOS version that is currently installed. Updating it can improve communication between the processor and the motherboard, add support for new CPU models, and allow proper initialization.
This, in turn, can allow the hardware components to recognize each other and work together, resolving boot issues. The motherboard manual or the concerned website can be consulted to get a clear idea of updating the BIOS.
5] Check CPU with another system
If the above steps fail to resolve the issue, an effective way to narrow down the problem is to install the said CPU in another healthy system. If the same booting issue occurs in this system, the problem is with the CPU itself. However, if the new CPU works fine once installed on the new system, we can safely conclude that the issue lies with the hardware or BIOS.
I hope the post helped you fix the CPU booting issue.
Do you need to reset CMOS when installing a new CPU?
Typically, the BIOS, unless manually adjusted for voltages or clock settings, will read the CPUID string upon booting and automatically configure all parameters to the correct values using its internal lookup table.
Will a dead CPU boot?
Technically, no, but the only way to determine if the CPU is dead is by asking support to check it. So, if you are wondering if the CPU is dead because the PC did not boot, then it is best to check other things as well.