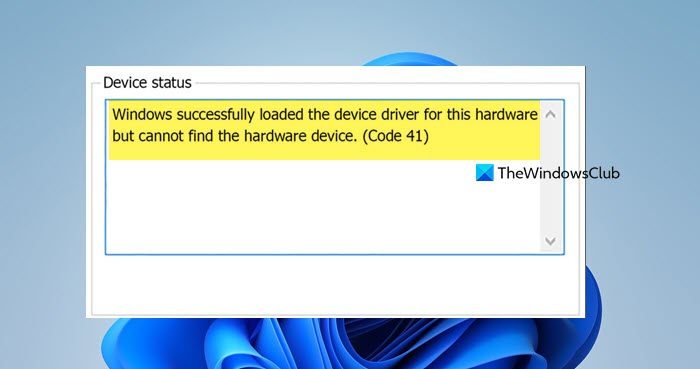
When trying to use a CD/DVD drive or an external hard disk, Windows users might encounter Error Code 41 in the Device Manager. In this post, we will discuss what to do when Windows successfully loaded the device driver for this hardware but cannot find the hardware device and gives Error Code 41.

Although this issue can appear in various environments, the most commonly found one is when you try to use a CD/DVD drive or an external hard disk, and you get the message, rendering your drive useless. You may also experience entire partitions missing from This PC folder.
What causes Code 41?
More often than not, Device Manager error code 41 is due to the corruption of two registry values. You can resolve this by accessing the Windows Registry and deleting the UpperFilters and LowerFilters registry values. Other than that, you may also encounter this problem if the drivers are corrupted, so, we will see how you can reinstall them as well.
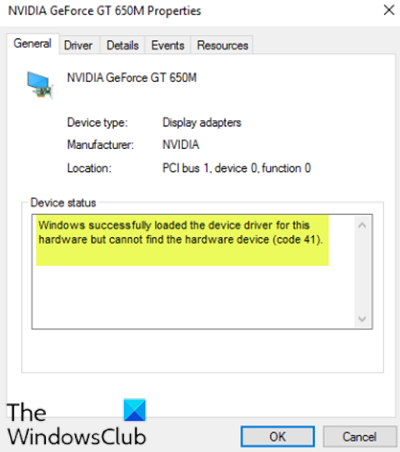
Windows successfully loaded the device driver for this hardware but cannot find the hardware device (Code 41)

If you’re faced with this, you can try our recommended solutions below in no particular order and see if that helps to resolve the issue.
- Edit registry entry
- Uninstall and reinstall the device
- Manually update the device driver
Let’s take a look at the description of the process involved concerning each of the listed solutions.
1] Edit registry entry

Since this is a registry operation, it is recommended that you back up the registry or create a system restore point as necessary precautionary measures. Once done, you can proceed as follows:
- Press Windows key + R to invoke the Run dialog.
- In the Run dialog box, type
regeditand hit Enter to open Registry Editor. - Navigate or jump to the registry key path below:
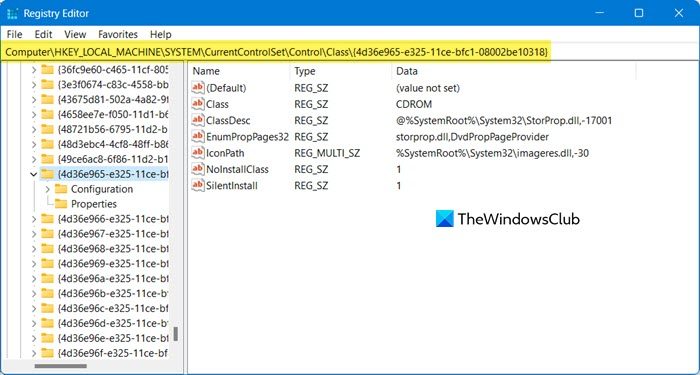
HKEY_LOCAL_MACHINE\System\CurrentControlSet\Control\Class\{4d36e965-e325-11ce-bfc1-08002be10318}
- At the location, on the right pane, right-click and delete both the UpperFilters and LowerFilters entry.
- Restart your computer.
If the entries are not present in that location, you can skip to the next solution.
2] Uninstall and reinstall the device

To get rid of corruption in the drive, we need to uninstall and reinstall it. In order to do the same, follow the steps mentioned below.
- Press Windows key + X to open the Power User Menu.
- Tap M key on the keyboard to open Device Manager.
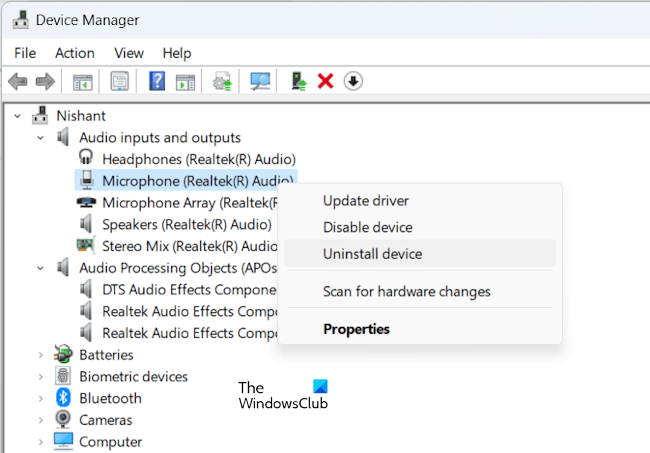
- Once the Device Manager opens, identify the problematic device (usually having a yellow exclamation mark) and right-click on it.
- Click on Uninstall device from the context menu.
- Click OK on the confirmation message prompt.
- When the uninstallation finishes, move your cursor to the menu bar and click on Action.
- Then, click on Scan for hardware changes and wait for the process to complete.
Windows 11/10 will automatically detect the hardware and install it on your computer.
- Reboot your computer for the changes to take effect.
The error should now be resolved.
3] Manually update the device driver
This solution requires you to either update your drivers manually via the Device Manager, or you can get the driver updates on the Optional Updates section under Windows Update. You can download the latest version of the problematic device driver from the manufacturer’s website.
I hope this helps!
Also Read: Error Code 38, Windows cannot load the Device Driver for this hardware, Previous instance is in memory.
Leave a Reply