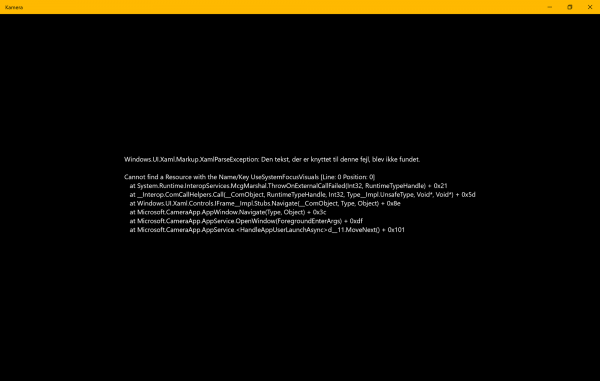
The UWP platform is fairly new, yet it works great, and Microsoft is betting big on it. With the power of .NET Core and XAML, it helps developers build applications for Windows 11/10 that are more modern, beautiful, and responsive. But at the end of the day, it is software running on a computer and can encounter errors. This is not a big deal. One such error is Windows.UI.Xaml.Markup.XamlParseException Microsoft Store app error. It can happen to any Universal Windows Platform Application and from what I understand, it is caused due to some XAML parsing error.

Windows.UI.Xaml.Markup.XamlParseException error
We will look at the following fixes to get rid of the Windows.UI.Xaml.Markup.XamlParseException UWP app error on Windows 11/10 –
- Reinstall the faulty application.
- Check the Privacy Settings for that application.
- Run Program Compatibility & Windows Store Apps Troubleshooters.
- Use System Restore.
1] Reinstall the faulty application
If the application that you are encountering an error for is not a system application of Windows, you can just uninstall it from the Windows Settings App and reinstall it from the Microsoft Store.
In case it is a system app like Calculator or the Camera app, you need to uninstall and reinstall that system app using a PowerShell script.
2] Check the Privacy Settings for that application
You can also check if all the Privacy Settings required for the particular application are properly configured.
3] Run Program Compatibility & Windows Store Apps Troubleshooters
Open the Settings App > Troubleshoot section.
On the right side panel, you will find a number of Troubleshooters. From the list, you need to run the following troubleshooters one by one-
- Program Compatibility Troubleshooter.
- Windows Store Apps.
Follow the on-screen instructions for each and check if that fixes your issues.
4] Use System Restore
You can restore your computer using System Restore operation.
You may do it in regular mode or by booting into Safe Mode or Advanced Startup Options.
If you are in Advanced Startup Options, you can select System Restore directly and proceed with the steps. If you just booted into Safe Mode, launch sysdm.cpl using the Search box
Select the tab labeled as System Protection and then choose the System Restore button.
It will now open a new window where you must choose your desired System Restore Point. After selecting your desired System Restore Point, follow the on-screen instructions to complete the process.
Now, reboot your computer and check if this method could resolve your issue.
I hope something helps!
Leave a Reply