Error 0x80070643 is a general Windows Update installation error code that can appear on your Windows computer screen during installation. If you encounter this issue, this post may be able to help.
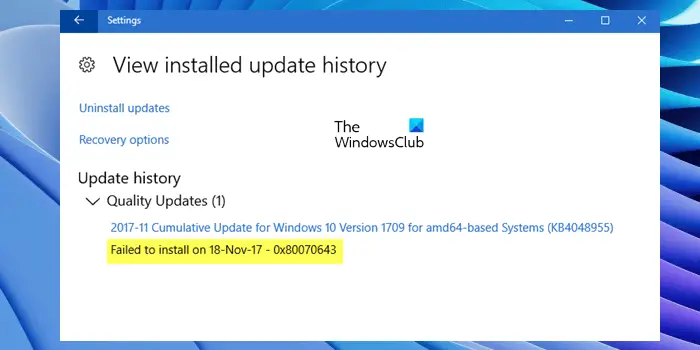
What does 0x80070643 mean?
Windows Error code 0x80070643 is an error caused during installation. It may be caused by a server-side problem and you may retry the installation or check the internet connection. Try restarting the computer after running the Windows Update Troubleshooter.
What do I do if Windows Update failed to install?
If Windows Update fails to install, you may try to install it again. Delete Temporary Files and Browser Cache. If that doesn’t work, manually reset Windows Update Components to the default. A few more solutions would be to run SFC and DISM, or the Windows Update Troubleshooter.
Fix Windows Update error 0x80070643
When you receive the Windows Update error, the first thing you should do is restart your computer and try again. If restarting the device does not work, here’s what you can do to fix the Windows Update error 0x80070643 in Windows 10 or Windows 11:
- Rename the SoftwareDistribution folder
- Clear Catroot2 folder contents
- Run Windows Update Troubleshooter
- Repair .NET Framework
- Repair your system files
- Install Windows Updates in Clean Boot State
- Resize the WinRE Partition.
1] Rename the SoftwareDistribution folder
Error 0x80070643 can prevent you from installing Windows Update or other software. This issue may occur due to a corrupted MSI software update registration or a corrupted .NET Framework installation on the computer.
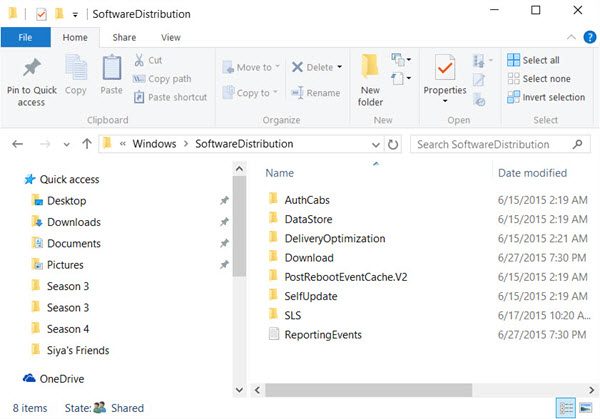
To solve this, it is advisable to rename the SoftwareDistribution folder. To rename the Software Distribution folder, open an elevated command prompt windows, type the following commands one after the other, and hit Enter:
net stop wuauserv
net stop bits
rename c:\windows\SoftwareDistribution SoftwareDistribution.bak
net start wuauserv
net start bits
Next clear the contents of the Catroot2 folder.
2] Clear Catroot2 folder contents
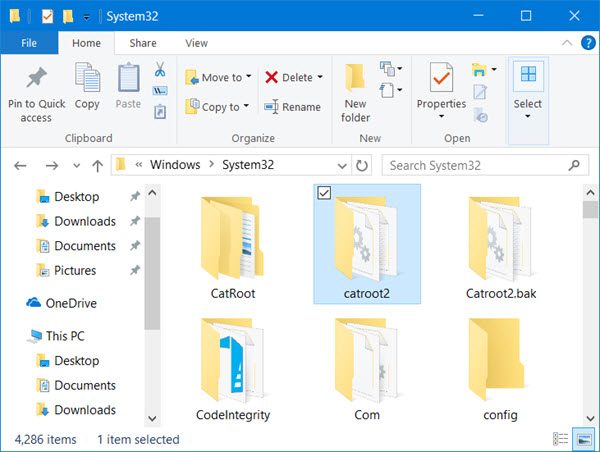
Catroot and Catroot2 are some of the important Windows OS folders that are required during the Windows Updates process. So, if you are facing the problem while updating your Windows and receiving error message – 0x80070643, then reset the Catroot2 folder.
To reset the catroot2 folder do this:
Open an elevated Command Prompt, type the following command one after the other and hit Enter:
net stop cryptsvc
md %systemroot%\system32\catroot2.old
xcopy %systemroot%\system32\catroot2 %systemroot%\system32\catroot2.old /s
Next, delete all the contents of the catroot2 folder.
Having done this, in the CMD windows, type the following and hit Enter:
net start cryptsvc
Your catroot folder will be reset, once you start Windows Update again.
3] Run Windows Update Troubleshooter
Occasionally, when Windows users try to install the latest updates from Windows Update, they sometimes receive an error message – 0x80070643. The Windows Update Troubleshooter resolves many of these errors so run it and see.
4] Repair .NET Framework
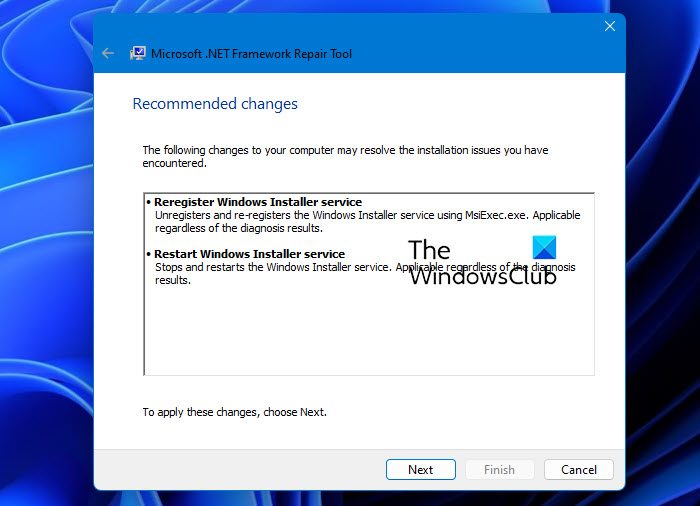
Many affected users experienced Windows Update error 0x80070643 because of corrupted Microsoft .NET Framework. If despite trying the above fixes, the error is not fixed, we suggest you repair the Microsoft .NET Framework. To do so, you have to download the Microsoft .NET Framework repair tool from the official website of Microsoft. This tool helps users fix .NET Framework problems and issues.
Related: Fix Error Code 0x643 when updating .NET Framework
5] Repair your system files
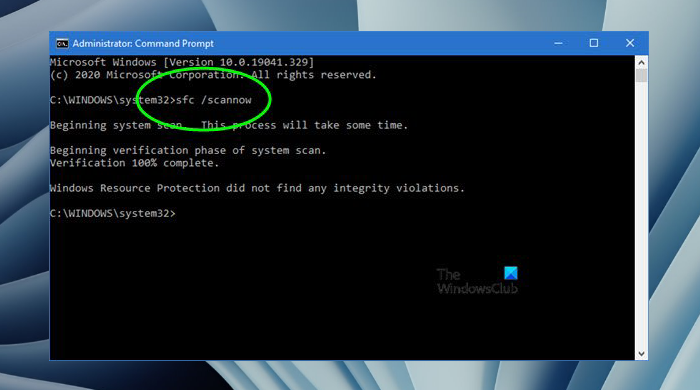
One possible cause of the failure of Windows Update installation is the corrupted system image files. If this is the case with you, repairing the system image files will fix the problem. System File Checker is a tool developed by Microsoft that helps users repair corrupted system image files. You can run this tool by using the Command Prompt.
If the SFC scan fails to repair system image files, there is one more tool that you can use for the same purpose, DISM (Deployment Imaging and Servicing Management). This should help.
6] Install Windows Updates in Clean Boot State
It is a good idea to install Windows Updates in Clean Boot State, since all non-Microsoft processes & Services do not start in that state and so there can be no 3rd-party interferences causing Windows Update to fail.
7] Resize the WinRE Partition
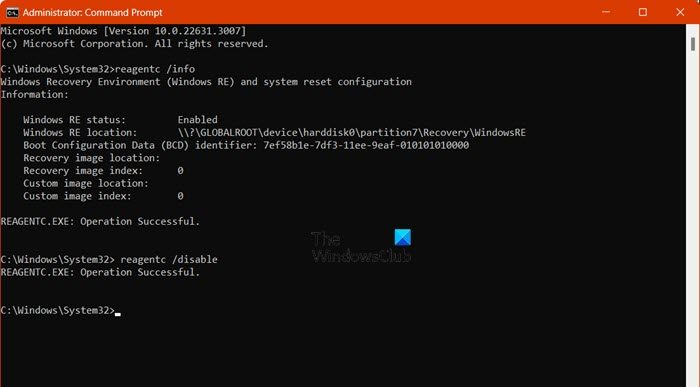
Microsoft has changed how it updates PCs that run the Windows Recovery Environment (WinRE). PCs might not have a recovery partition that is large enough to install some updates. Because of this, the update for WinRE might fail with this error code. You will receive the error message, “Windows Recovery Environment servicing failed.” To help you recover from this failure, you will have to manually resize your recovery partition if you get a system ErrorPhase of 2. This requires your device to have the recovery partition after the OS partition.
How do I fix a corrupted Windows Update?
Corrupted Windows Update Components also corrupt Windows Update. Resetting the Windows Update Components can help, and in most cases, this solution works.
How do I get rid of the Windows Update error?
Several factors, such as corrupted Windows Update Components, unstable internet connections, insufficient disk space, or corrupted system image files can cause Windows Update errors. To get rid of these errors, try some fixes, like resetting Windows Update Components or running Windows Update Troubleshooter.
How to fix Windows Update error 0x80070424?
To fix Windows Update error 0x80070424, try running the Windows Update Troubleshooter, ensuring Windows Update services are running, resetting Windows Update components, checking your system for malware, enabling Windows Defender Firewall, and performing a system file check.
Related: Windows Defender failed to install Update with error 0x80070643.
Thanks… but Jeeezus Christ. When I turn on the water in my condo, I just want it to flow. If not, I call someone. I don’t want to have to become a plumber.
I didn’t sign up to have to do all of this. I’m used to Macs. How can PCs still be so horribly made?
would this work for WIN 7 ?//////??
Yes
Thank you!
Errors in Windows Update are relatively rare. When they occur, you can fix them yourself, as documented above, or take your computer to someone who can fix it. Many companies exist to fix Windows problems.
Just like if you have a serious problem with a Mac.