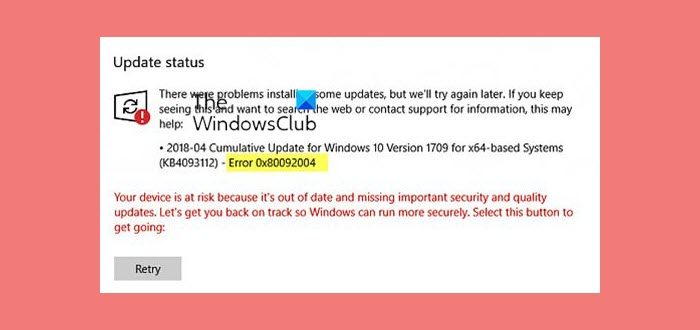
The reason for Windows Update error 0x80092004 could be many. When Windows Updates do not work out the way they should, then this error code may appear. When Updates are ready for your system, Microsoft offers them to you; but when you click on the Check for Update button and then try to install them, then such updates could result in this issue.

Fix Windows Update error 0x80092004
If you receive Windows Update error 0x80092004, follow the solutions below to resolve Windows Update error 0x80092004.
- Remove recent updates and packages
- Delete Files from Software Distribution folder
- Run Windows Update Troubleshooter
- Install the Update manually or wait for it to be offered to your system.
1] Remove recent updates & packages
When an update fails, it usually rolls back and cleans up everything behind it. In case it doesn’t, you can manually clean that package. Go to Update History and figure out what KB updates were installed. Once you figure it out, you can then execute the DISM tool to manually remove it.
Execute this command – it will give you a list of packages installed recently-
Dism /online /Get-Packages
Figure out the name of the package that is most recent. It may look like how it is as below. Run the Remove Package program to remove it.
dism.exe /online /remove-package /packagename:Package_for_RollupFix_Wrapper~31bf3856ad364e35~amd64~~16299.248.1.17 /packagename:Package_for_RollupFix~31bf3856ad364e35~amd64~~16299.125.1.6 /packagename:Package_for_RollupFix_Wrapper~31bf3856ad364e35~amd64~~16299.192.1.9 /packagename:Package_for_RollupFix~31bf3856ad364e35~amd64~~16299.192.1.9 /norestart
Reboot your computer.
Login back, and then run this command again.
Dism.exe /online /Cleanup-Image /StartComponentCleanup
Scan for updates.
NOTE: The remove package command is specifically for AMD 64 Bit machines which were popularly hit by the update. However, you can always try the same steps with any package or update.
2] Delete Files from Software Distribution Folder

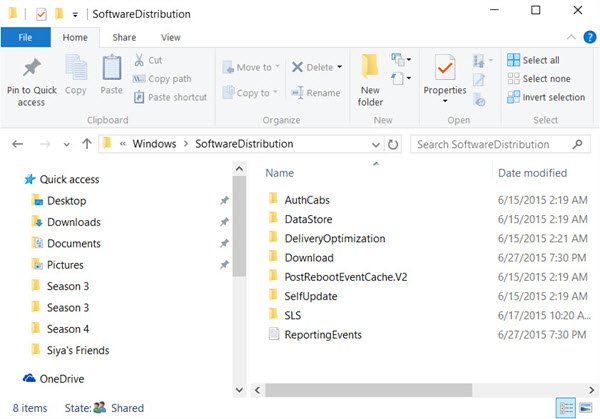
When Windows downloads the updates, they are kept in a dedicated folder called as ‘SoftwareDistribution‘ (C:\Windows\SoftwareDistribution). In case of faulty updates, you can delete the files manually from here. This will force the system to re-download the updates again.
3] Run Windows Update Troubleshooter
Run Windows Update Troubleshooter and see if that helps you. There is also an online WU Troubleshooter that may help you.
4] Install the Update manually or wait for the update to be offered
If it is clear which update is causing the problem, you can manually download the KB update from the Microsoft Update Catalog. Just search for the KB and download it. Once its complete, double click to execute the update, and the Windows Update system will pick it up.
If you see an error message CRYPT_E_NOT_FOUND, then it could mean that your system rejected the update because of cryptographic values mismatch. In this case, you need to ensure that the latest Servicing Stack Update is installed on your system.
This is primarily applicable to Windows Server 2008 R2, Windows 7, and Windows Server 2008 systems, and was resolved with the release of KB4474419 which supported SHA-2 Code Signing requirement for Windows and WSUS.
Alternatively, you could wait for the update to be offered to your system and then install it. This is what we would recommend.
Why Windows Update failed to install?
There can be many reasons why Windows Update is failing to install on your system. One possible cause is the less disk space. Your device should have 10 GB or more space on C drive for successful installation of Windows Update. Other causes of the Windows Update failure include corrupted system image files, updates being blocked by antivirus or firewall, etc.
How do I fix Windows Update Service error?
Windows Update Service is responsible for the installation of Windows updates on your system. If this service is missing or not running, you will not be able to install Windows Update. If Windows Update Service is not running and you are unable to start it via Services Manager, clearing the SoftwareDistribution folder can help. If this does not work, troubleshot in a Clean Boot state.
Let us know if any of these solutions helped you to resolve this problem. A. confirmation from your side will only help us improve, and others as well.
Leave a Reply