Some Windows 11/10 users are reporting that they receive the error code 0x80240008 when trying to download and install Windows updates on their devices. In this post, we will identify the possible causes as well as provide the appropriate solutions you can try to remediate the issue.
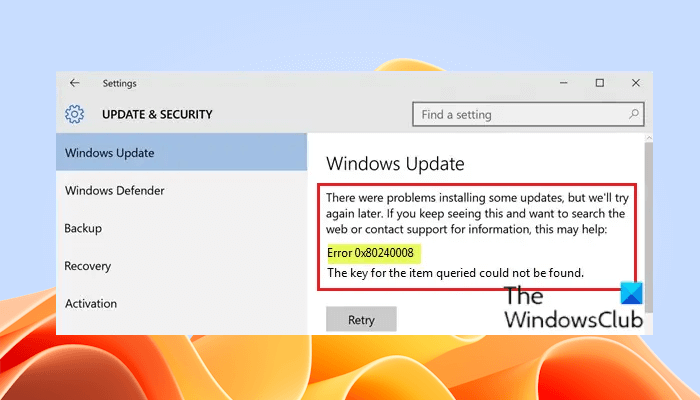
Error 0x80240008, The key for the item queried could not be found
Fix Windows Update error 0x80240008
If you encounter the Windows Update error 0x80240008, you can try our recommended solutions to resolve the issue.
- Run Windows Update Troubleshooter
- Perform SFC and DISM scan
- Disable/Uninstall 3rd party security software (if applicable)
- Clear the Windows Update cache
- Run Windows Update in a Clean Boot state
- Use Microsoft Update Catalog
- Perform an In-place upgrade repair or a Cloud Reset
Let’s take a look at the description of the process involved concerning each of the listed solutions.
1] Run Windows Update Troubleshooter
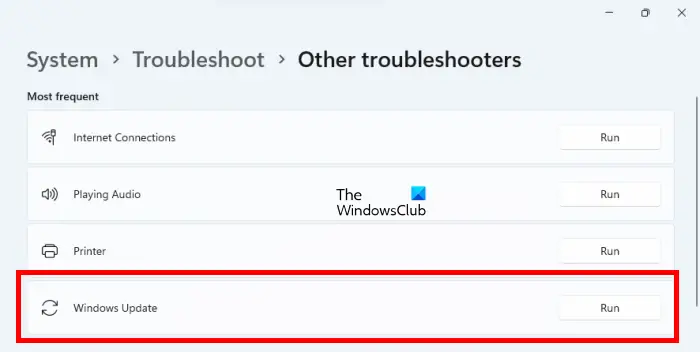
This solution requires you to run the inbuilt Windows Update Troubleshooter and see if that helps to resolve the Windows Update error 0x80240008 issue. To run this tool on your Windows 11/10 computer, open its Settings and go to System > Troubleshoot> Other troubleshooters.
2] Perform SFC and DISM scan
If you have system file errors, you may encounter the Windows Update error 0x80240008. The SFC/DISM is a utility in Windows that allows users to scan for corruptions in Windows system files and restore corrupted files.
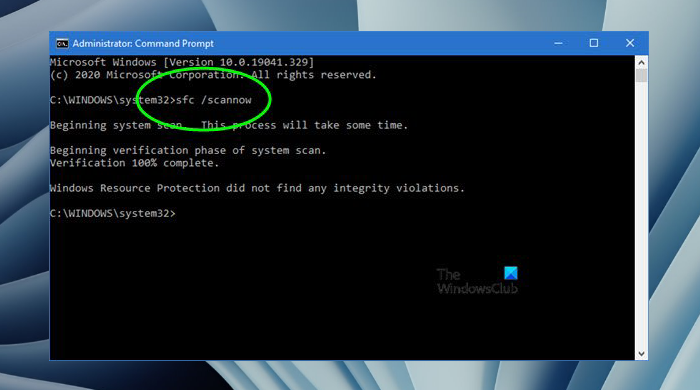
System File Checker is a built-in tool in Windows 11/10 that allows users to scan corrupted system image files. After running the SFC scan, if the problem persists, you can run the DISM tool.
For ease and convenience, you can run the scan using the procedure below.
- Press the Windows key + R.
- In the Run dialog box, type notepad and hit Enter to open Notepad.
- Copy and paste the syntax below into the text editor.
@echo off
date /t & time /t
echo Dism /Online /Cleanup-Image /StartComponentCleanup
Dism /Online /Cleanup-Image /StartComponentCleanup
echo ...
date /t & time /t
echo Dism /Online /Cleanup-Image /RestoreHealth
Dism /Online /Cleanup-Image /RestoreHealth
echo ...
date /t & time /t
echo SFC /scannow
SFC /scannow
date /t & time /t
pause
- Save the file with a name and append the .bat file extension – eg; SFC_DISM_scan.bat.
- Repeatedly run the batch file with admin privilege (right-click the saved file and select Run as Administrator from the context menu) until it reports no errors.
- Restart your PC.
On boot, try updating again. If the error persists, continue with the next solution.
Related: Windows Update fails to install or will not download.
3] Disable/Uninstall 3rd party security software (if applicable)
Firewalls and antivirus are important for your system safety, but sometimes these programs can interfere with Windows 11/10 and cause this Windows Update error 0x80240008 to appear.
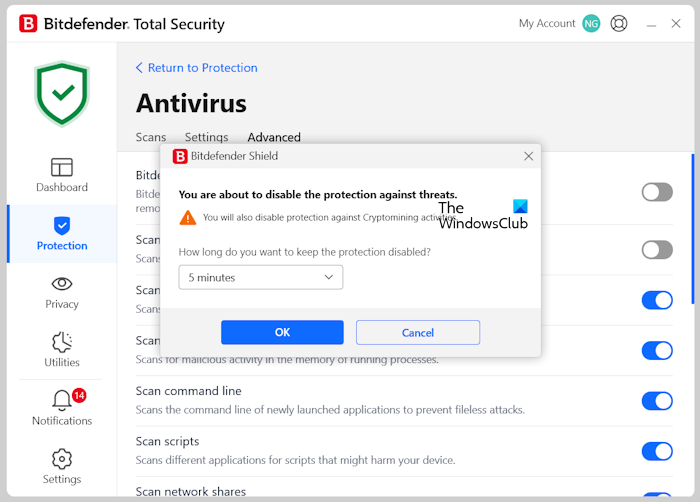
To check if this is the case with you, you can disable your third-party antivirus software and then check if you get the same error while installing Windows Update. If the error disappears, you can enable the antivirus after successful installation of the Windows Update. Sometimes, disabling an antivirus does not work. In this case, you can uninstall that antivirus. Before uninstalling the antivirus, make sure that you have its activation key, as it will be required to activate your antivirus license when you reinstall the antivirus again.
McAfee, AVAST, and Comodo are all known to cause this particular issue. In this case, to fix this issue, you’ll have to remove all third-party antivirus programs from your PC using the dedicated removal tool to remove all files associated with your antivirus program. The reason is that it is much more efficient and invasive to use the custom uninstall tools for the AV program from the manufacturer, if available, whenever uninstalling antivirus software, as there are registries and dependencies, installed deep within the OS which the traditional Control Panel uninstaller (appwiz.cpl) might miss in most cases.
If removing the antivirus fixes this error, you can now install the same antivirus again, or you can switch to an alternative software or better still stick to the Windows 11/10 native AV program – Windows Defender.
4] Clear the Windows Update cache/components
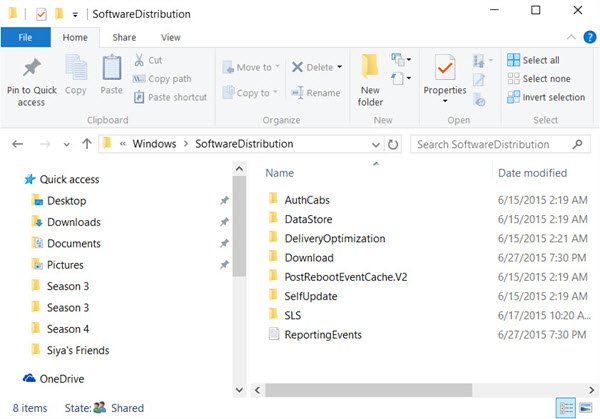
The Software Distribution folder in the Windows 11/10 operating system is a folder located in the Windows directory and used to temporarily store files that may be required to install Windows Update on your computer. This solution requires you to clear the contents of the Software Distribution folder and then retry the update process again. If the error is still unresolved, continue with the next solution.
5] Run Windows Update in a Clean Boot state
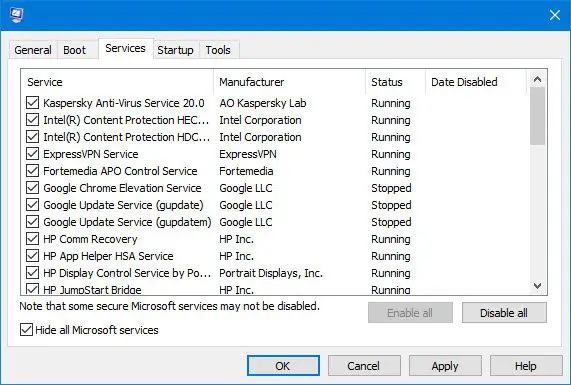
You can try running Windows Update in a Clean Boot state. If a third-party background application or service is interfering with Windows Update and causing it to fail, Windows Update should install successfully in the Clean Boot state. Start your system in a Clean Boot state and then run Windows Update. If this works, you can exit the Clean Boot state after the successful installation of the Windows Update.
6] Use Microsoft Update Catalog
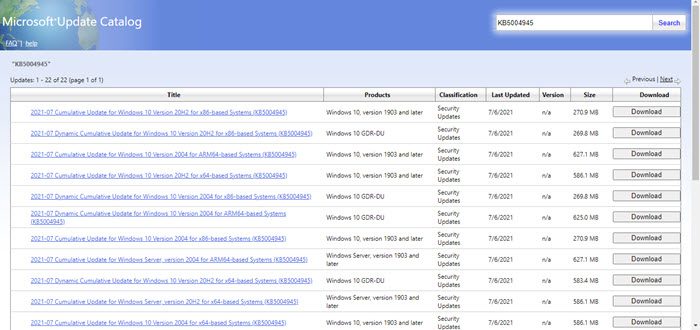
Microsoft Update Catalog is an official Microsoft website where you can search for a variety of update fields and categories. If you know the KB number of the Windows Update that is failing again and again, you can enter that KB number on the Microsoft Update Catalog website and download the installer file of that Windows Update. Now, run the update file manually to install that Windows Update.
7] Perform an In-place upgrade repair or a Cloud Reset
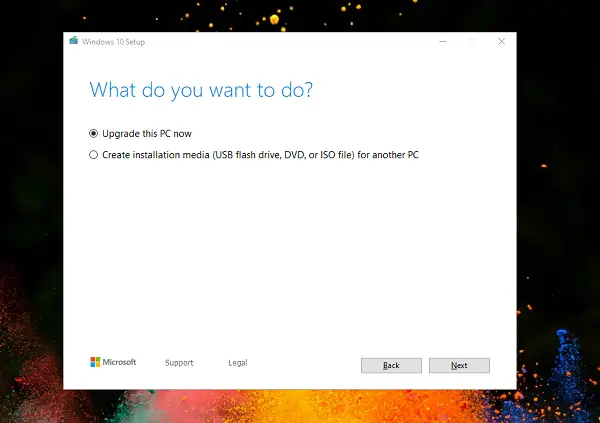
At this point, if the Windows Update error 0x80240008 is still unresolved, it’s most likely due to some kind of system corruption that cannot be resolved conventionally. In this case, you can try In-place upgrade repair to reset every Windows component. Also, if you’re running Windows 11/10 version 1909 and later, you can try Cloud Reset and see if that helps.
That’s it. I hope this helps.
How to solve the Windows Update problem?
There can be many causes of Windows Update failure. Sometimes, antivirus software conflicts with Windows Update and causes it to fail. Whereas, sometimes, Windows Update fails due to the corrupted system image files. If you experience such an issue, you can try some fixes to resolve it, like repairing the corrupted system image files, disabling antivirus software, running the Windows Update Troubleshooter, etc.
Can corrupted Windows be fixed?
You can do some things to fix corrupted Windows. System File Checker and DISM are built-in tools in Windows 11/10 that allow you to scan and repair corrupted system image files. You can use these tools to fix corrupted Windows. In addition to this, you can also run Startup Repair in Windows Recovery Environment. If you still experience issues with your system, you can perform System Restore.
PS: More tips here to Troubleshoot Windows Updates Errors in Windows 11/10.