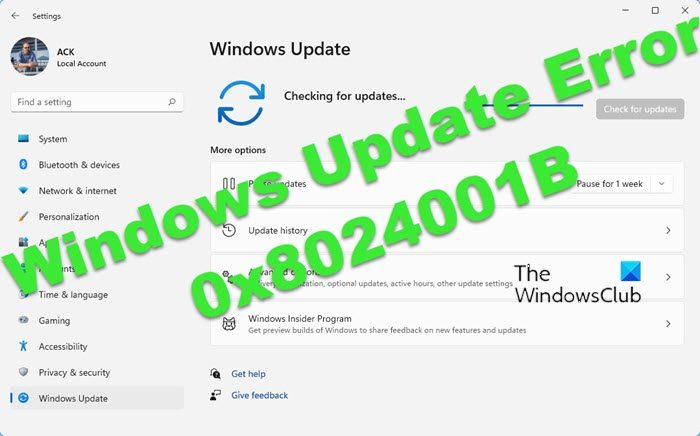
When some users are trying to search for updates, they see Windows Update Error 0x8024001B. The error comes with a message that says “There was a problem checking for updates”. This doesn’t allow Windows to scan for the update, hence, they never get to update their computer. If you are one of those users, then this post is for you.
0x8024001B -2145124325 WU_E_SELFUPDATE_IN_PROGRESS The operation could not be performed because the Windows Update Agent is self-updating.
What causes Error 0x8024001B of Windows Update?
You need to know that this error code sometimes means the update is installed, but users have reported that the update doesn’t seem to get installed even after a day or two. That’s why we need to know why this error code is appearing and how to resolve the issue. Usually, these kinds of errors are triggered if the system files are corrupted. Even though this still is a reason here, it’s not the most obvious. The Windows Update Agent can also cause this issue.
Fix Windows Update Error 0x8024001B
If you encounter Windows Update Error 0x8024001B, check out the following solutions.
- Restart your computer and retry
- Run Windows Update Troubleshooter
- Reset Software Distribution and Catroot2 Folders
- Reset Windows Update Agent to default
- Repair System Files.
1] Restart your computer and retry
Sometimes, the error just comes out of the blue because of a glitch. To get rid of it, try restarting your computer. After that, try updating your OS and see if that works. If not, move to the next solution.
2] Run Windows Update Troubleshooter
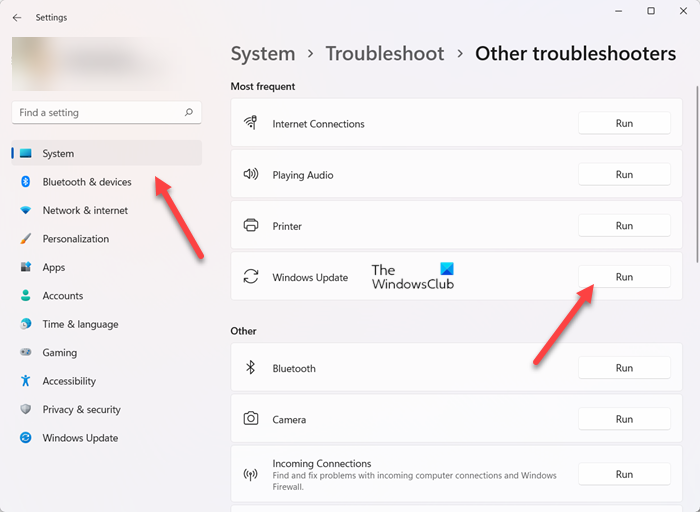
Now, let us begin with our troubleshooting. First up, we are going to run Windows Update Troubleshooter and let it recognize the cause and rectify it. Follow the given steps to do the same.
Windows 11
- Open Settings.
- Go to System.
- Click on Troubleshoot and then select Other troubleshooters.
- Now, click the Run button for Windows Update.
Run the troubleshooter and see if that helps.
Windows 10
- Launch the Settings app.
- Click on Update & Security > Troubleshoot > Additional troubleshooters.
- Finally, select Windows Update and click Run the troubleshooter.
Hopefully, this will do the job for you.
Read: Windows Update Troubleshooter not working
3] Reset Software Distribution and Catroot2 Folders
If the Windows Update Components, Software Distribution and Catroot2, have corrupted files, chances are you will see the error code in question. You should flush the folders and see if that works.
Our portable freeware FixWin allows you to reset this and most other Windows settings or functions with a single click.
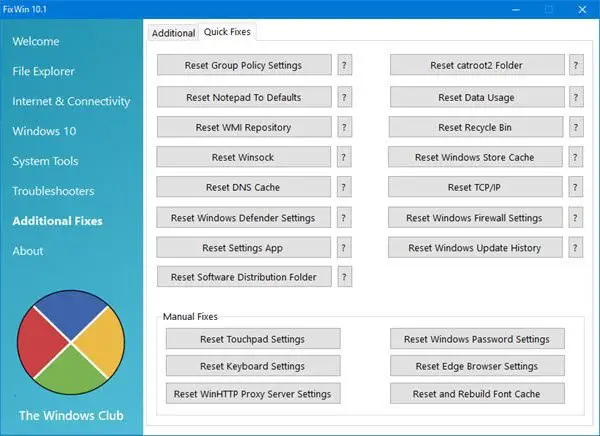
Open FixWin > Additional Fixes > Quick Fixes and press the following buttons one after the other:
- Reset Software Distribution folder
- Reset Catroot2 folder.
Your job will be done in a click!
4] Reset Windows Update Agent to default
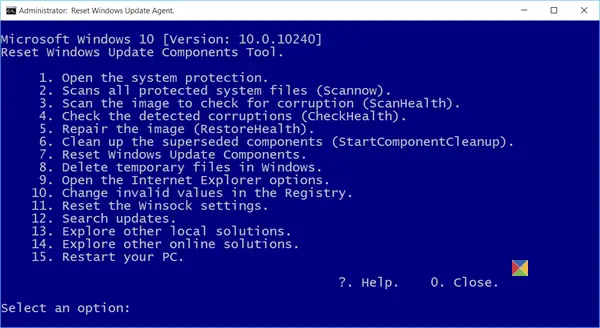
If you are facing problems while downloading or installing Windows Updates on Windows 11/10/8/7, you definitely want to run the Reset Windows Update Agent Tool from Microsoft. This Reset Windows Update Agent will reset & repair all WU-related components & registry keys, detect corruptions, replace corrupted system files, fix corrupted system images, Reset Winsock settings, and so on.
5] Repair System Files
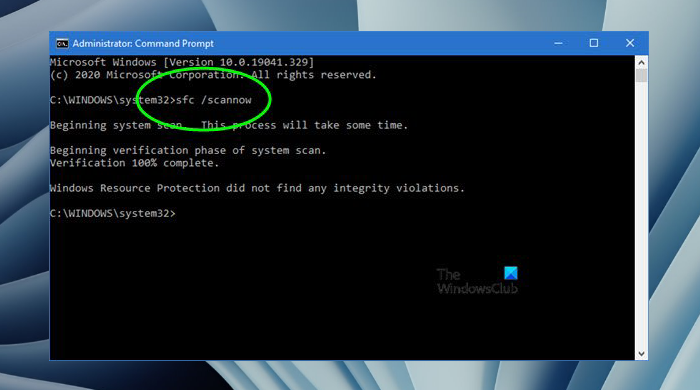
If your computer has recently suffered a virus attack or you usually do an improper shutdown, your Operating System’s file can get corrupted. But this doesn’t mean that these files can not be resolved. We are going to use some commands to do the same. Open Command Prompt as an administrator and run the following commands.
sfc /scannow
If that doesn’t work, then try the next command.
DISM /Online /Cleanup-Image /RestoreHealth
These should do the trick for you.
If Needed: SFC not working, will not run or could not repair corrupt file
How do I fix Windows Update error 0x80242016?
To fix Windows Update error 0x80242016 on Windows 11/10, temporarily disable any third-party antivirus tool that you’re using and try again. Also, disable the proxy connection (if any) and run the SFC Scan and DISM tool to solve the problem. You may also need to manually reset all Windows Update Components, restart the relevant Windows services, or manually download updates if nothing works.
How to fix Windows Update error 0x8024001e?
To fix Windows Update error 0x8024001e, run the Windows Update Troubleshooter, reset the Windows Update components, and check your internet connection. Additionally, ensure your system date and time are correct and clear the SoftwareDistribution folder to resolve the issue.
How do I fix Windows Update error 0x80246019?
Error 0x80246019 can occur for Windows Update and Microsoft Store. To fix error 0x80246019, delete safe system files (cache files, temporary internet files, etc.) using the Disk Cleanup tool and stop Insider Preview builds (if you are part of the Windows Insider Program). This should work, or you should run System File Checker to repair corrupt Windows files.
How to fix Installer encountered an error 0x8024001D?
To fix error 0x8024001D, clear the Windows Update cache, run the Windows Update Troubleshooter, and ensure your system has sufficient disk space. Restart the Windows Update service and retry the installation. If the issue persists, download the update manually from the Microsoft Update Catalog.
Following are some other common Windows Update errors.