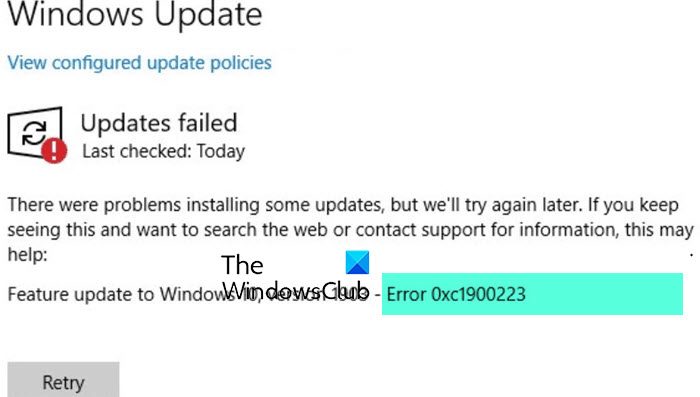
Some users are reporting a Windows Update error 0xc1900223 while trying to installing Windows Update. This problem especially comes when installing a Feature Update. With this error code, you could see an error message that states:
There were problems installing some updates, but we will try again later. If you keep seeing this and want to search the web or contact support for information, this may help: Feature update to Windows 11/10 – Error 0xc1900223.

In this guide, we have come with some easy solutions that will help you to get out of this mess.
Fix Windows Update Error 0xc1900223
To fix Windows Update Error 0xc1900223, follow the below suggestion:
- Run Windows Update Troubleshooter
- Run Media Creation Tool
- Disable your VPN software
- Flush the DNS cache
- Perform DISM and SFC tools
- Disable Network-wide adblocker
- Reset Windows update component
- Install via Microsoft Update Catalog website.
Let us see them in detail:
1] Run Windows Update Troubleshooter
To get the problem solved, you first need to run the Windows Update Troubleshooter. This will check irregularities with Windows Updates and the status of services related to the process. That way, it could help you to fix the issue. The procedure to run the Windows Updates Troubleshooter is as follows:
Open the Windows Settings using Win+I Shortcut key.
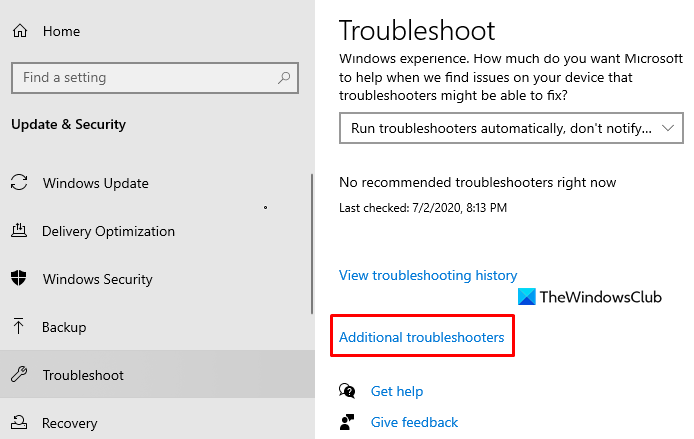
On the Settings page, select Updates & Security > Troubleshoot > Additional troubleshooters.

Now select Windows Updates Troubleshooter from this list and run it.
Once it completes the process, restart your computer and check for the error issue.
Furthermore, you could also run the Windows Update Online Troubleshooter.
2] Run Media Creation Tool
After running Windows Update troubleshooter, if you are still not able to update Windows 10 installation then you can run Media Creation Tool to fix this problem.
To get it started, navigate to the Microsoft page and then click on the Download Tool Now buttons, available under Create Windows 10 installation media section.
Now go to the download location and double click on the executable. During this, if UAC prompts on the screen, click Yes to grant administrative privileges.
Run the Media Creation Tool on your computer and then choose to Upgrade this PC now.
Next, follow the on-screen instructions to continue the process. Please note that this will save your files, apps, and most settings in place.
Once you complete the operation, restart your computer and check if this method fixed the issue.
3] Disable your VPN software
If you are using VPN software, there may be a high possibility of occurring this error message. So, in that case, disable your VPN connection and then reboot your computer. Once it starts up, try to install the Windows Update again and check if it solves the problem.
4] Flush the DNS cache
Sometimes a problem like this error code can also occur due to a network inconsistency. In this case, you may need to flush the DNS cache via the command prompt. Here are the steps you can use to do it.
First of all, click on the Start button and type command prompt.
Right-click on the Command Prompt and select Run as administrator.
If UAC prompts on the screen, click on the Yes button to grant administrative privileges.
In the command prompt window, type the below text code and hit enter after each one:
ipconfig /flushdns
ipconfig /registerdns
ipconfig /release
ipconfig /renew
After the successful execution of the above commands, restart your system and check if the problem is solved now.
5] Perform DISM and SFC tools
This problem has also been seen to occur due to some kind of temporary malfunction or system file corruption. In such a case you first need to run System File Checker and then the DISM tool to repair missing or corrupted system files
To get it started, open an elevated Command Prompt first.
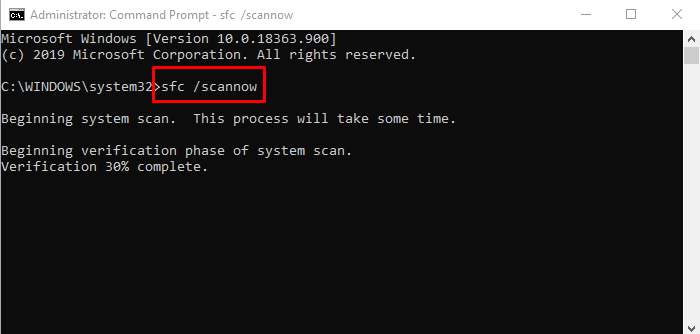
Once it opens, type in the below command-line and then hit enter to execute it –
sfc /scannow
This will take a few minutes to complete the operation. So as long as the system scans the text code, you are free to do any other work if you want.

After the successful SFC scan, restart your Windows device to apply the changes.
Thereafter, you would need to repair the Windows system files by running the DISM (Deployment Image Servicing and Management) tool. Here is how to do it:
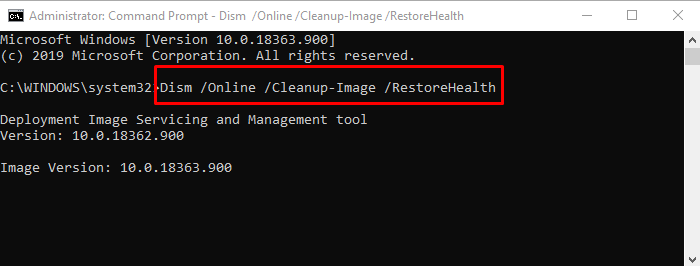
Open the elevated Command Prompt window again and input the following text code:
Dism.exe /online /cleanup-image /scanhealth

Dism.exe /online /cleanup-image /restorehealth
Here you need to hit enter after each command-line to execute.

After running the process, reboot your device and check if the problem still exists.
6] Disable Network-wide adblocker
If you are using a Disable Network-wide adblocker like Pi-Hole, you may want to disable it temporarily and see if it helps.
7] Reset Windows update component
If the above methods don’t work and the problem is still persevering then it might be related to some kind of Windows update bug. In such a case, you need to reset Windows Update components through commands. This procedure will reset all settings related to Windows Updates to default.
After resetting the components file, restart your computer and check if it fixes the problem.
8] Install via Microsoft Update Catalog website
You can download and install the website manually from the Microsoft Update Catalog website.
I hope it helps!
Leave a Reply