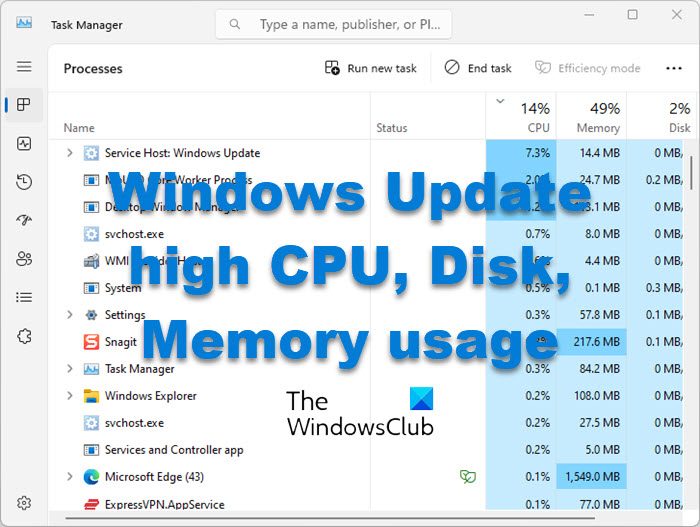
If the Task Manager indicates that your Windows Update process is consuming a high CPU, Disk, Memory or Power on Windows 11/10, then this post will be able to help you address the issue. This can happen if the Windows Update cache or its components have been corrupted.
Can Windows Update cause high CPU usage?
A corrupted Windows Update can cause the update process to lag or loop in the background, causing high CPU or Memory usage. This can slow down your system. A corrupted Windows Update cache can also cause this issue.
Fix Windows Update high CPU, Disk, Memory usage
When you run Windows Update, several related processes like Service Host Windows Update, System, Service Host (svchost.exe) Update Orchestrator Service, Wuauserv, etc, may show high CPU, Disk, Memory, or Power usage. If you face this issue, then follow these suggestions:
- Clear Windows Update cache folders
- Run System File Checker
- Run FixWU Utility
- Clear the BITS queue
- Disable Delivery Optimization
- Reset Windows Update Components to default
- Fix Windows Update using DISM
- Run Windows Update in Clean Boot State
Let us take a look at these suggestions in detail.
1] Clear Windows Update cache folders
Windows Update cache files are stored in two folders, and you should delete its contents. So clear the contents of the following two folders:
TIP: Our portable freeware FixWin allows you to reset this and most other Windows settings or functions with a single click.
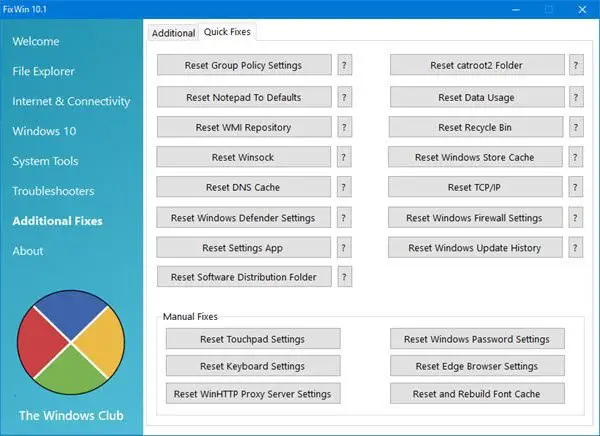
SIDE NOTE: Please do not delete or rename the Catroot folder. The Catroot2 folder is automatically recreated by Windows, but the Catroot folder is not recreated if the Catroot folder is renamed.
2] Run System File Checker
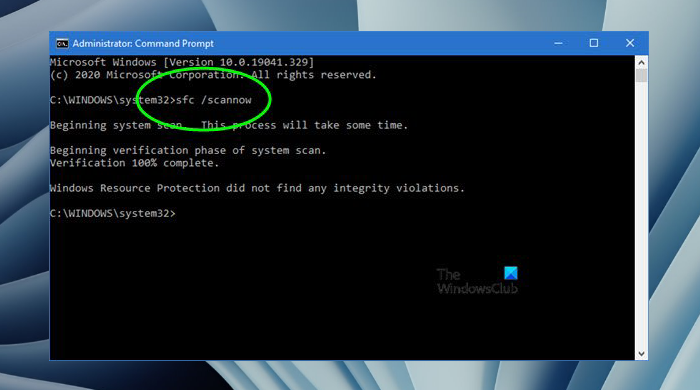
Run System File Checker to replace potentially corrupted system files.
3] Run FixWU Utility
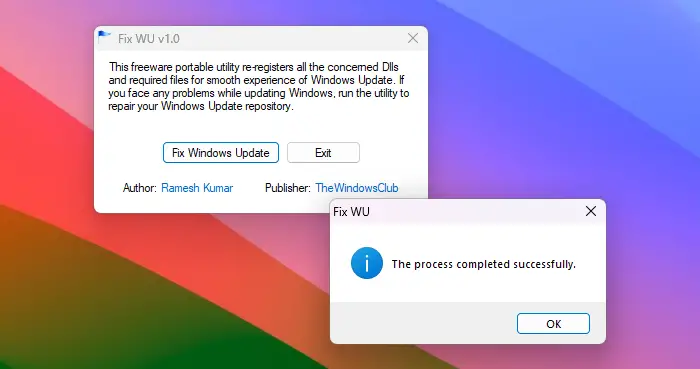
Use our Fix WU tool and see if it helps. It re-registers all the dll, ocx, and ax files required for the proper functioning of Windows Updates.
Read: Service Host Network Service High network usage
4] Clear the BITS queue
Clear the BITS queue of any current jobs. To do this, type the following in an elevated CMD and hit Enter:
bitsadmin.exe /reset /allusers
5] Disable Delivery Optimization
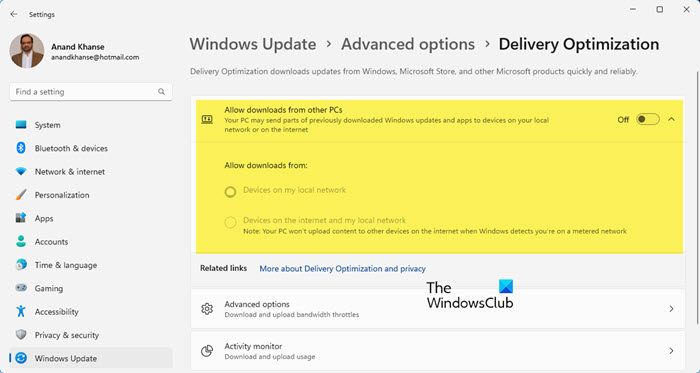
To turn off Delivery Optimization in Windows 11:
- Open Windows 11 Settings
- Open Windows Update section
- Click on Advanced options
- Open Delivery Optimization under Advanced options
- Uncheck Allow downloads from other PCs.
Read: Service Host Delivery Optimization High Network, Disk or CPU usage
6] Reset Windows Update Components to default
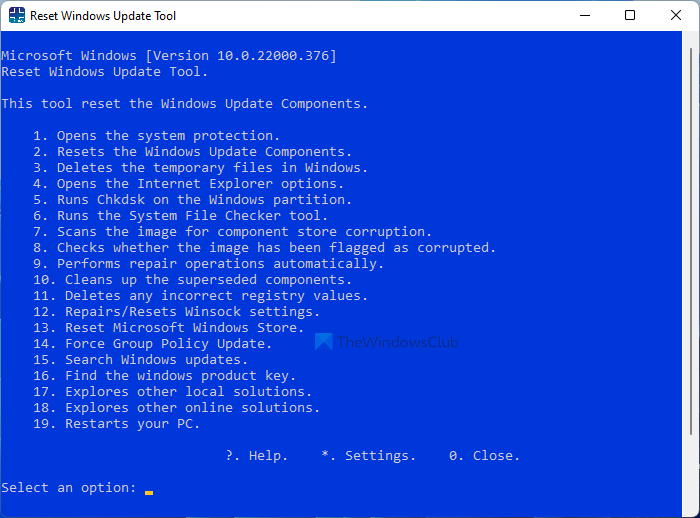
Use the Reset Windows Update Tool (From a 3rd-party) and see if it helps you. This PowerShell script will help you Reset Windows Update Client.
See this post if you want to manually reset each Windows Update component to default.
7] Fix Windows Update using DISM
You can fix corrupted Windows Update system files using DISM Tool. The Dism.exe tool can be used in different situations, and one of them is to repair a corrupted Windows Update files.
Do note that you need to run a different command if you want to repair corrupted Windows Update System Files. If you run the usual /RestoreHealth command, it may not necessarily help.
DISM will replace potentially corrupted or missing system files with good ones. However, if your Windows Update client is already broken, you will be prompted to use a running Windows installation as the repair source or a Windows side-by-side folder from a network share, as the source of the files.
You will then be required to run the following command instead:
DISM.exe /Online /Cleanup-Image /RestoreHealth /Source:C:\RepairSource\Windows /LimitAccess
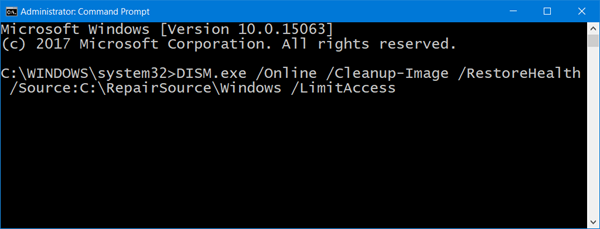
Here, you have to replace the C:\RepairSource\Windows placeholder with the location of your repair source.
8] Run Windows Update in Clean Boot State
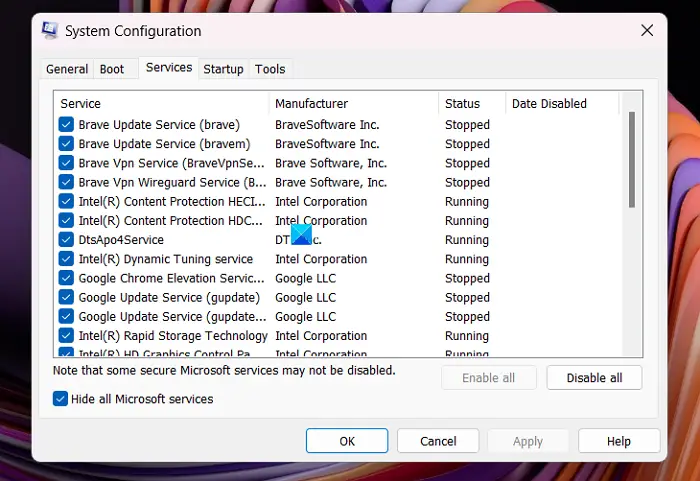
Boot in Clean Boot State and run Windows Update and see if this helps. If any 3rd-party processes are causing issues, doing this will eliminate that problem.
Related: How to fix wuauserv high CPU usage in Windows
Why is my CPU usage so high after Windows 11 update?
Your CPU usage may be high after a Windows Update if your Windows Update components or cache are corrupted. Background apps could also be consuming high CPU resources if running in the background. This excessive usage is likely the reason behind the Windows 11 high CPU utilization.
How do I fix high CPU usage on Windows?
To fix high CPU usage on Windows, open the Task Manager and identify any non-system processes consuming excessive CPU resources. Then, you can try ending those processes or updating the corresponding software. Additionally, checking for malware, disabling unnecessary startup programs, and keeping your Windows updated can also help lower CPU usage and improve performance.
Leave a Reply