WSL is a game-changer, allowing a complete Linux experience inside Windows. But to optimize it, we need to do more than rely on default settings. In this post, we will talk about tips and tricks to speed up and improve the WSL experience.
Best WSL Tips and Tricks
Following are some of the best WSL Tips and Tricks to Speed up and improve the WSL experience.
- Install much advanced Windows Terminal in WSL
- Switch to Z-Shell and Oh My Zsh Framework
- Use VSCode within the WSL environment within Windows
- Optimize Windows Subsystem for Linux 2 (WSL2) CPU and Memory
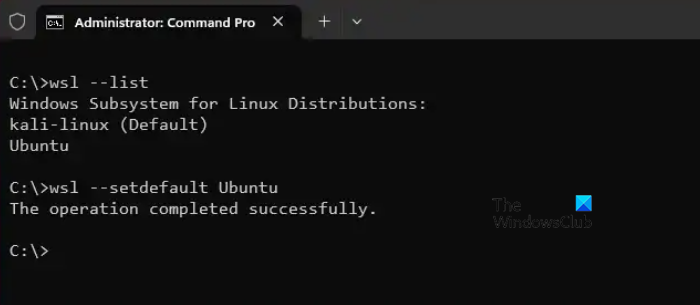
- Switch to a different Distros
Let us talk about them in detail.
Things to do with WSL
1] Install much advanced Windows Terminal in WSL

When you install Linux distribution, you will get a default terminal, which is quite obvious as we can not imagine Linux without a command-line utility. However, if you want something fresh and different, try Windows Terminal.
Windows Terminal is a powerful application with many modern features, including tabbed windows, which you would expect from any terminal emulator. It supports not only Linux but also PowerShell and Command Prompt.
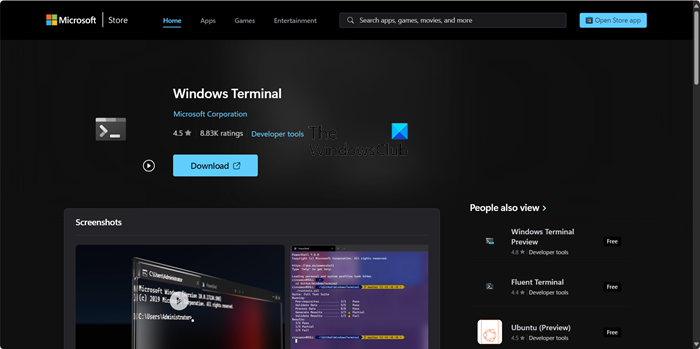
However, it still has a few rough edges and requires users to edit settings in a “.json” file. But you would have no trouble editing configuration files if you are an experienced command line user. To access the .json file, go to Settings and click on Open JSON file. To download the utility, go to apps.microsoft.com and click on the Download button.
2] Switch to Z-shell and Oh My Zsh Framework

Zsh, also known as Z-shell, is a shell with more advanced features than Bash. Zsh has built-in Git integration and supports installing themes and plugins, as well as auto-completion and autocorrection.
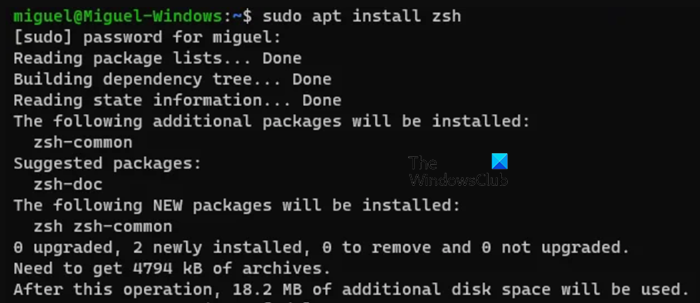
Installing Z-shell is pretty simple, we need to run the following command.
sudo apt install zsh -y
After installing Z-Shell, it’s time to install the “Oh My Zsh” Framework. It is a framework driven by the community that allows you to easily manage different themes and plugins for Zsh. In order to install this framework, we require Curl and Git. To do the same, run the command given below.
sudo apt install curl git
Now, run the command mentioned below to install Oh My Zsh.
sh -c "$(curl -fsSL https://raw.githubusercontent.com/robbyrussell/oh-my-zsh/master/tools/install.sh)"
You will be asked if you want to switch to Zsh, to confirm your action, just hit Enter.
3] Use VSCode within the WSL environment within Windows

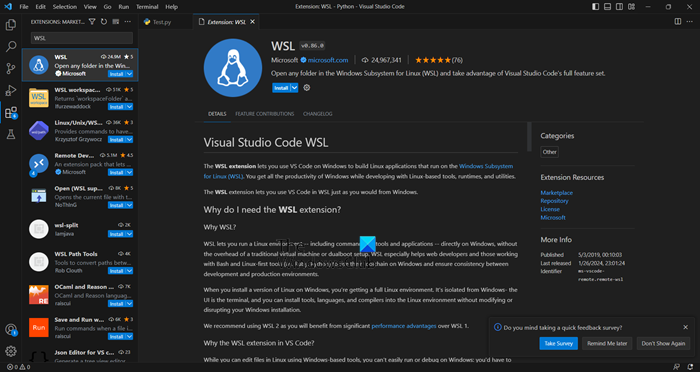
There is a VSCode extension that enables you to seamlessly access all the runtimes, utilities, and the Linux kernel that you have installed in WSL, within your development environment. This means that you can easily run your own code within the WSL environment on your Windows machine.
To install this tool, you need to go to Extension Marketplace in Visual Studio Code and look for “WSL”. Once the extension appears, select it and click on Install. Now, go back to your WSL terminal and choose a folder where you want to use VSCode. Then, enter the following command:
code .
- Open File Explorer and go to C:\Users\<YourUsername>.
- Now, there you need to open Notepad and create a .wslconfig file in your user folder.
- To make changes to that file, you can use the following format.
makefileCopy code[wsl2]
# To limit VM memory to use no more than 6 GB, this can be set as whole numbers using GB or MB
memory=6GB
# To set the VM to use 4 virtual processors
processors=4
- After making the required system changes, you need to open PowerShell or Command Prompt and run the following command to shut down the WSL instance.
wsl --shutdown
- Now, run wsl to start the instance.
If you want to make any changes later, go to that file and adjust the ‘memory’ and ‘processors’ entries.

Leave a Reply