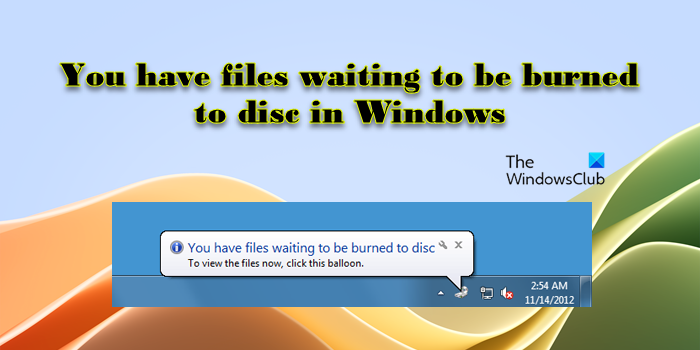
If you see You have files waiting to be burned to disc message in Windows 11/10 taskbar notification area every time you start your computer, read this post to learn how to fix the issue.

The error message indicates that there was an error when you tried to copy the files earlier and the copy did not complete successfully. This happens when the files or folders you’re trying to burn have been accidentally placed on the drive letter used by the disc burner or if a copy or recording operation fails. The complete error message reads:
You have files waiting to be burned to disc
To view the files now, click this balloon.
If you see this message, then follow this tutorial to delete these temporary files that are waiting to be burned to disc and solve the problem.
You have files waiting to be burned to disc
The error message You have files waiting to be burned to disc can easily be resolved following these steps:
Navigate to the following folder and delete all the temporary files placed in it:
C:\Users\<username>\AppData\Local\Microsoft\Windows\Burn\Temporary Burn Folder
To do so, open Run box, type shell:cd burning and hit Enter, to open the folder.

Delete all the files in the folder named Temporary Burn Folder.

Restart your computer.
You will now not see this message pop out.
If you find that some files will not be deleted, restart your computer and try this procedure again.
Alternatively, you could open the File Explorer on your Windows 11/10 PC. You will see the Devices with Removable Storage list. Under this section, select the CD/DVD drive, right-click on it, and select Delete Temporary Files. Click on Yes to confirm deletion.
I hope this helps.
Read: Enable or Disable Disk Write Caching in Windows.
How do I delete files waiting to be burned in Windows 11?
Open File Explorer and right-click on the CD/DVD drive where the files are queued. Select Delete temporary files from the context menu. Follow the on-screen instructions to confirm the deletion. Alternatively, navigate to the location where you originally selected the files to be burned to disc, select the files you want to remove from the burn list and delete them by pressing the Delete key on your keyboard.
How do I burn an ISO to a disc in Windows 11?
Insert a blank CD/DVD/Blu-ray disc into your computer’s disc drive. Open File Explorer and navigate to the location where the ISO is stored. Right-click on the file and select Open with > Windows Disc Image Burner. The Windows Disc Image Burner dialog will appear. Click the Burn button to start burning the ISO file to the disc. Once the process completes, you’ll see a notification indicating that the disc is ready to use.
Read Next: There was a problem burning this disc in Windows.
Thank you…Thank you…Thank you… I’ve been looking for an article like this for some time and here it is!
Glad to be of help.
Instead of saying ‘open RUN box’, say ‘type RUN in Search programs and files’ and press return.
This didn’t work because there are no files in the folder to begin with.
Same for me but I moved up a directory level to the ‘Burn’ folder and found I had two Temporary Burn Folders. This second folder contained the temporary files that were causing the annoying prompt. I deleted this folder. Job done. Any way, hope you got it fixed.
It’s gone now. I finally fixed it but can’t remember how I did it. lol
the shell cd burning folder is empty but my files r having a padlock on it
what should i do
If Microsoft went through all the trouble of creating these nagging balloons and so-called session folder for the purpose of burning, the least Microsoft could’ve done was input an additional explanation inside the same balloon or another mouse-over, once the Windows Explorer folder opens after clicking the balloon, which further explains that these particular files are just copies of the original simply cached in this location, and that deleting these files does not delete the originals.
Better yet, Microsoft could’ve certainly created a pop-up option asking the user if they would like to discard these files from the cache if they no longer wish to burn them.
Just another one Microsoft’s insidious yet unnecessary quirks that they could’ve easily solved during before bringing the OS to market. Which again, only proves just how little Microsoft actually cares about end users.
I’m so sick of Microsoft’s nonsense and lack of proper attention to things like this. They call themselves software engineers and yet with the hundreds of thousands of employees Microsoft has, they expect us to believe that they couldn’t have addressed these types of issues prior to OS inception?!——-Palease!
Whatever happened to the Windows 7 mantra (“This is my PC simplified”)?
If non-engineer end users can pick up on these types of problems as soon as they’re encountered, then why should we believe that multiple teams of system engineers, whom work day in and day out for this monopoly of a company, could not reach the same conclusion?!
Oh wait, I know why——-because Microsoft’s CEO didn’t want it on the company agenda because he truly doesn’t give a crap about it’s end-user base, despite Microsoft’s often-touted hoopla to the contrary!