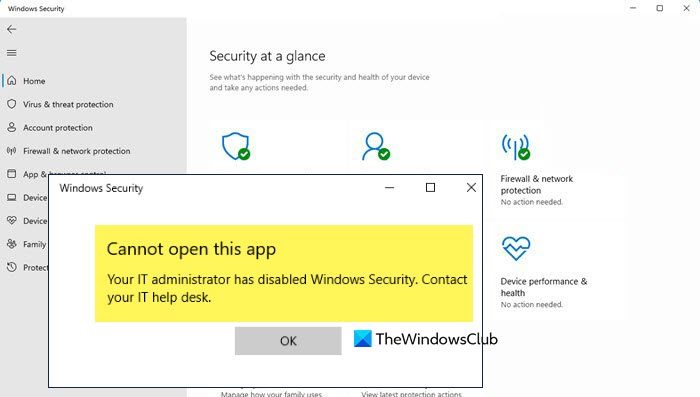
Windows Security is a built-in tool that can scan your system for virus and malware. However, when using Windows Security, sometimes, it throws the following error.
Cannot Open this app
Your IT administrator has disabled Windows Security. Contact your IT Help desk
This error clearly indicates that due to some policy, you are unable to access Windows Security. In this post, we will see what you can do to resolve this issue. So, if your IT administrator has disabled Windows Security, you are at the right place.
Your IT administrator has disabled Windows Security

The error appears as soon as you launch Windows Security, and it may show the Windows Security app for a moment, it will instantly be replaced by this small window asking you to contact your IT head. The strange part was that it appeared on my Windows 11/10 computer at home, and I am the only admin on that account. The other computer belongs to my son; he has a standard account on the computer. If you face this issue, log into your admin account and use one of these methods to fix this.
- Group Policy Method
- Registry Method
Since Windows 11/10 Home users don’t have access to Group Policy, they can use the Registry method. However, make sure to create a system restore point.
1] Group Policy Method
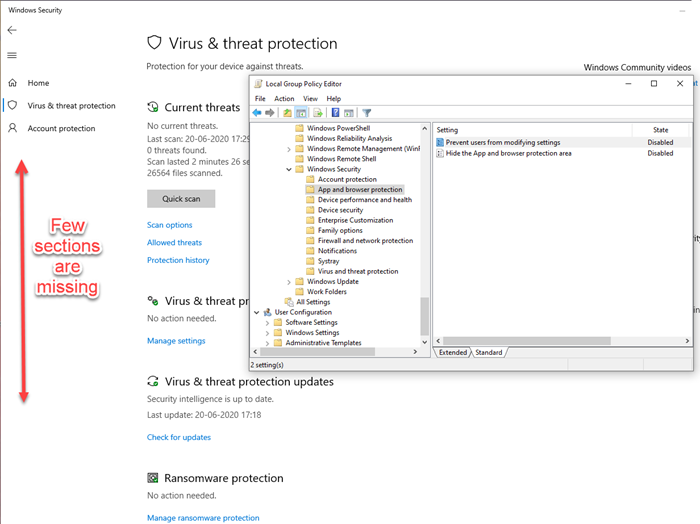
Open Group Policy Editor by typing gpedit.msc in the Run prompt (Win + R). Then navigate to:
Computer Configuration > Administrative Templates > Windows Components > Windows Security.
Here you have multiple policies for Windows Security, which you will need to change to enable back access:
- Account protection
- App and browser protection
- Device performance and health
- Device Security
- Family Options
- Firewall and network protection
- Notifications
- Systray
- Virus and Threat Protection
Open each of these folders, and double-click to open the policies inside it. Change it from Not Configured to Disabled.
I will recommend not to change anything that is under the Enterprise Customization policy unless it is applicable to your computer.
Here is a screenshot of when I enabled a few settings. When you do so, it will automatically appear in Windows Security.
The first setting change following this method will enable access to the Windows Security app.
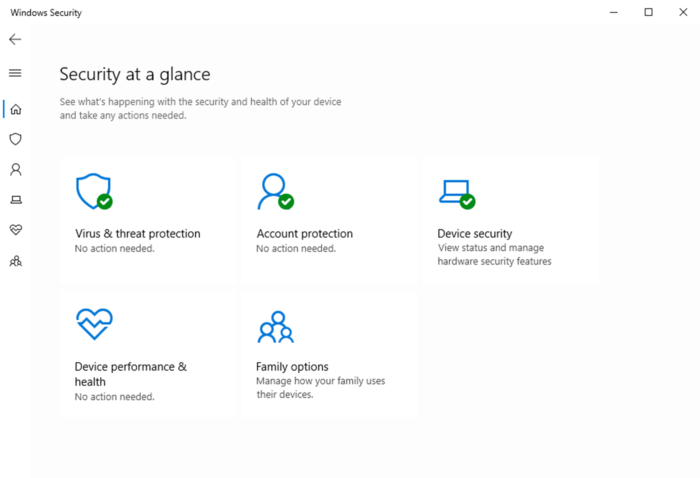
Compare the image above with the one below. As soon as I selected disabled for Device performance and health area policy, it appeared right away in the Windows Security app.
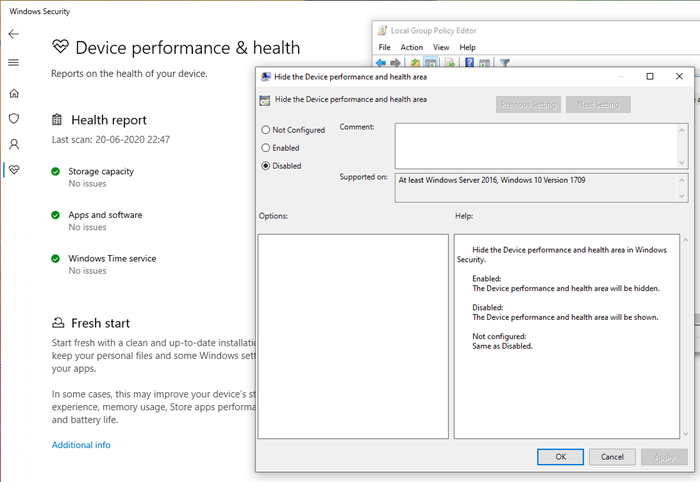
After enabling all of them, I was able to access all settings of Windows Security without a problem. I am guessing that something changed all these settings and blocked my access to the Windows Security app. It was not disabled because it was able to block any virus or unwanted program from the internet, and I was able to see it in the Task Manager. I wasn’t able to access it even with the admin permission.
Related read: Your IT Administrator has limited access to some areas of this app.
2] Registry Method
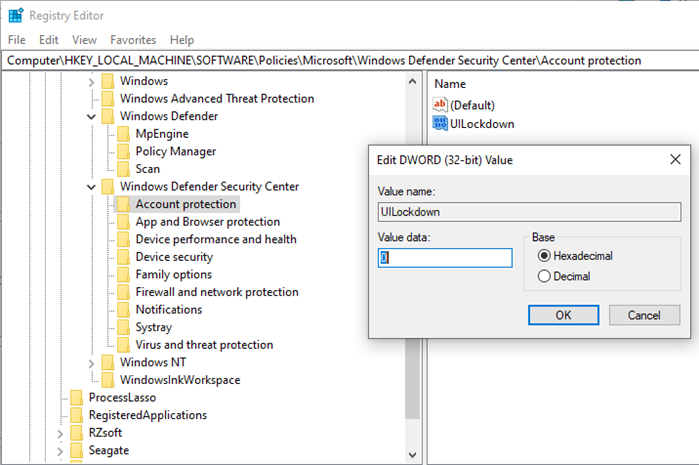
Open Registry Editor by typing Regedit in the Run prompt (Win +R) followed by pressing the enter Key. Then navigate to:
HKEY_LOCAL_MACHINE\SOFTWARE\Policies\Microsoft\Windows Defender Security Center
Set the following or create respective DWORD as follows:
HKEY_LOCAL_MACHINE\SOFTWARE\Policies\Microsoft\Windows Defender Security Center\Account protection
“UILockdown”=dword:00000000
To create a DWORD, go into the Account protection key, and then right-click on the right side. Create a DWORD with the name UILockdown, and set its value as 0.
HKEY_LOCAL_MACHINE\SOFTWARE\Policies\Microsoft\Windows Defender Security Center\App and Browser protection
“DisallowExploitProtectionOverride”=dword:00000000
“UILockdown”=dword:00000000
HKEY_LOCAL_MACHINE\SOFTWARE\Policies\Microsoft\Windows Defender Security Center\Device performance and health
“UILockdown”=dword:00000000
HKEY_LOCAL_MACHINE\SOFTWARE\Policies\Microsoft\Windows Defender Security Center\Device security
“DisableClearTpmButton”=dword:00000000
“DisableTpmFirmwareUpdateWarning”=dword:00000000
“HideSecureBoot”=dword:00000000
“HideTPMTroubleshooting”=dword:00000000
“UILockdown”=dword:00000000
HKEY_LOCAL_MACHINE\SOFTWARE\Policies\Microsoft\Windows Defender Security Center\Family options
“UILockdown”=dword:00000000
HKEY_LOCAL_MACHINE\SOFTWARE\Policies\Microsoft\Windows Defender Security Center\Firewall and network protection
UILockdown”=dword:00000000
HKEY_LOCAL_MACHINE\SOFTWARE\Policies\Microsoft\Windows Defender Security Center\Notifications
“DisableEnhancedNotifications”=dword:00000000
“DisableNotifications”=dword:00000000
HKEY_LOCAL_MACHINE\SOFTWARE\Policies\Microsoft\Windows Defender Security Center\Systray
“HideSystray”=dword:00000000
HKEY_LOCAL_MACHINE\SOFTWARE\Policies\Microsoft\Windows Defender Security Center\Virus and threat protection
“UILockdown”=dword:00000000
“HideRansomwareRecovery”=dword:00000000
If the computer restricts you from accessing either the group policy or the registry editor, create an admin account on your computer, and use that to change the settings.
I hope the post helps you access the Windows Security app.
Related Read: How to reset Windows Security to default settings.
How do I enable Windows Security again?
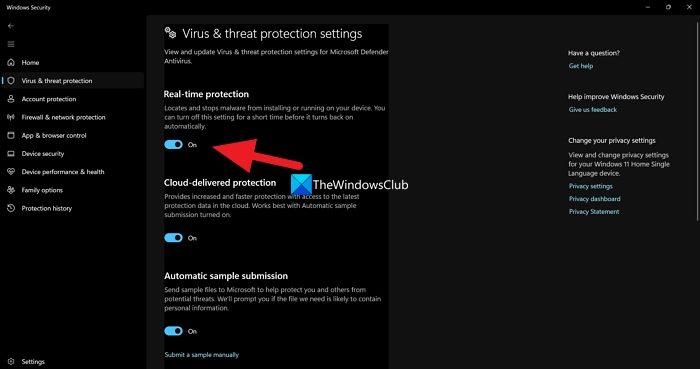
If Windows Security is disabled on your computer and you want to enable it, first of all, open the application by searching it out of the Start Menu. Then, go to Virus & threat protections > Scan options and then enable the disabled settings.
Read: Windows Security says No Security Providers in Windows 11/10
How to enable Windows Security using CMD?
To enable Windows Security from the Command Prompt, open Run, type “cmd” and hit Ctrl + Shift + Esc. Then run the command – MpCmdRun.exe -wdenable. Finally, reboot your computer and Windows Security is enabled.
Also Read: The Windows Security Center service can’t be started.
Leave a Reply