If you’re encountering the printing error message Your margins are pretty small when you try printing a document from Word or Excel on your Windows 11/10 computer, then this post is intended for you. When you encounter this issue, you’ll receive the following full error message:
Your margins are pretty small. Some of your content might be cut off when you print. Do you still want to print?
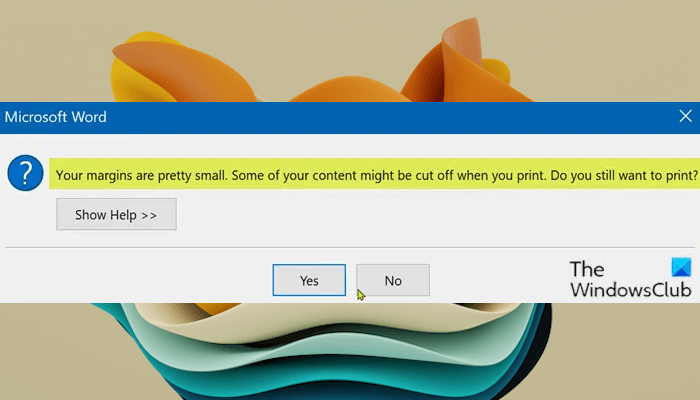
For most applications, like some documents, this is not a problem. However, if you are creating a document such as a brochure or other marketing material for your business, the pre-programmed margins may not suit your needs. For some printers, you can expand the print area by adjusting the margins in the software’s print dialog box. However, without a specialized printer, there may still be a small portion of the page margins that you cannot access.
Your margins are pretty small Printing error
If you’re faced with this issue, you can try our recommended solutions below in no particular order and see if that helps to resolve the issue.
- Run Printer Troubleshooter
- Use the maximum printing area
- Change the Page size to A4
- Export the Word document to PDF and print
Let’s take a look at the description of the process involved concerning each of the listed solutions.
1] Run Printer Troubleshooter
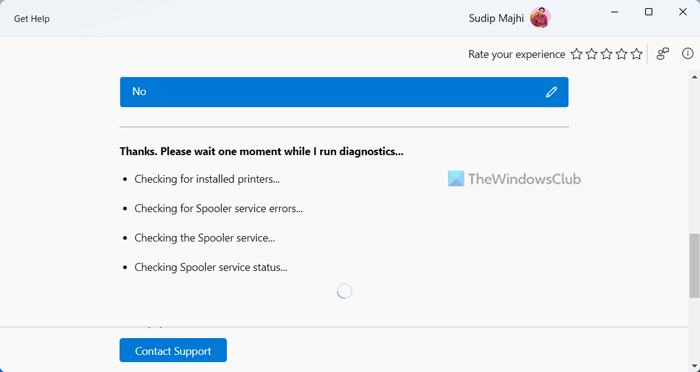
This solution requires you to run the inbuilt Printer Troubleshooter in Windows and see if the issue will be resolved. If not, continue with the next solution. In Windows 11, you can run the Printer Troubleshooter via the Get Help app.
2] Use the maximum printing area
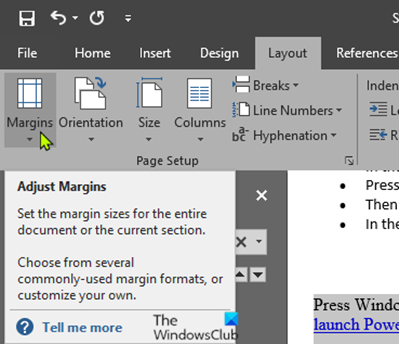
The main reason behind this issue is that you are trying to print a document exceeding the minimum limit of margin, which varies from printer to printer. To automatically fix it, do the following:
- Open the Word document you are having the issue with.
- When the document has opened, click on the Layout on the menu bar.
- Now, click on the Margins.
- Now, on the bottom-most portion of the drop-down window, click on the Custom Margins.
- In the Page Setup window, in the Margins section, set all the margins to 0.
- Click OK.
As soon as you click OK, a prompt will appear referring to the minimum margin requirements. Click the Fix button.
Now, in the Margins section, you will notice the top and bottom margins have automatically set to the minimum value. Click OK.
You can now print the document without any issues.
3] Change the Page size to A4
You can also try to change the paper size to A4. The following instructions will guide you on this.
- Press the Windows key and type Printers.
- Click on the Printers & Scanners from the top of the search result.
- On the right-hand side of the Settings window, click on the printer device you are currently using.
- Now, click on Manage.
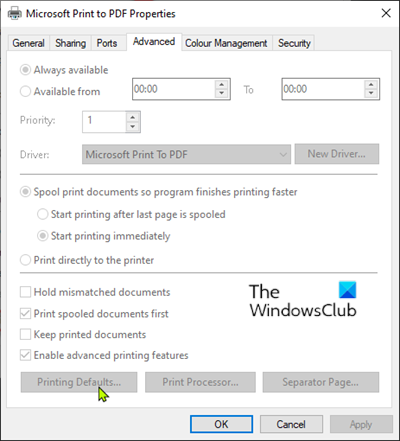
- Next, click on the Printer Properties to access the printer settings.
- In the Printer Properties window, go to the Advanced tab.
- In the Advanced tab, click on the Printing Defaults.
- Now, go to the Layout tab.
- Click Advanced.
- Now, click on the drop-down beside Paper Size.
- Select A4 from the list of the available sizes.
- Click OK to save changes.
Exit the Setting window try printing and see if the issue persists. If so, continue with the next solution.
4] Export the Word document to PDF and print
This solution entails that you convert the Word document to PDF and then print. This should resolve the issue.
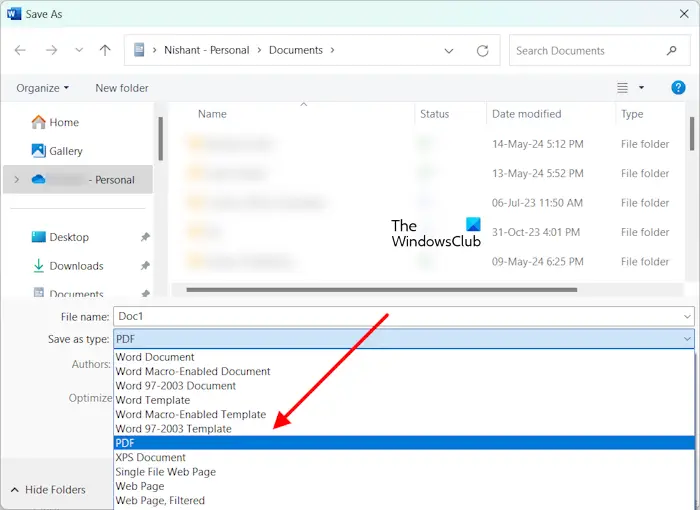
Microsoft Word also has a built-in feature to save the Word files as a PDF. Open the Word document, then go to File > Save As. Now, select PDF in the Save as Type drop-down and click OK to save the document as PDF.
Hope this helps!
Why is my printer not printing the correct margins?
If your printer is not printing the correct margins, first, check the paper margins set in the software you used on your computer. Another reason for this issue is incorrectly positioned paper in the paper tray of the printer. To fix this issue, correct the margins for the paper size in your printing program. If you still get this issue, remove the papers from the paper tray and place them properly.
How do I change print settings in Windows 11?
To change print settings, open the program and then go to the Print section. For example, in Microsoft Word, open a document, then go to File > Print. Now, select a printer and click on the Printer Properties link. You can also change other print settings. To change your printer preferences, open Windows 11 Settings and go to Bluetooth & devices > Printers & scanners. Select your printer and then click on the Printing preferences tab. To change your printer configuration settings, click on the Printer properties tab on the same page.
Read next: HP Scanner error 20, 22 or 23 on PC.
Leave a Reply