There are many people, who love to write but often fail due to the lack of a good environment. A helpful file management tool is required when you need to write a whole script for your next project. There are several free tools for writers, but most of them do not allow people to do what yWriter does. yWriter is a free script writing and management tool for Windows that comes with some unique and useful functionalities that let you get your job done quickly. Let’s take a look at the important features and workflow of this app.
yWriter Script Writing software
There are many features included in this tool, and some of them are mentioned below.
- Chapter management: Most of the tools do not allow people to create a chapter. They just let users create different files for different scenes. However, yWriter allows people to create a chapter.
- Character management: If you are writing a book, which has some characters, you can manage them accordingly with the help of this tool.
- Location management: This is mainly for them, who often write movie or drama scripts. You can manage locations, where you are about to go to make your script real.
- One-click backup: If you want to change your computer in between writing, you can backup your file, move that to another computer, and start again.
Apart from them, you can get a detailed report of each scene, a feature-rich panel to write text, option to manage goals and times, and much more.
Free script writing software for Windows PC
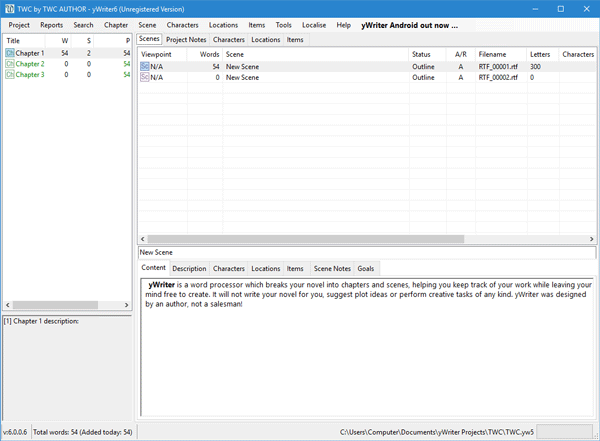
To get started with this script writing software, do download and install it on your machine. After opening, you will find a window like this-

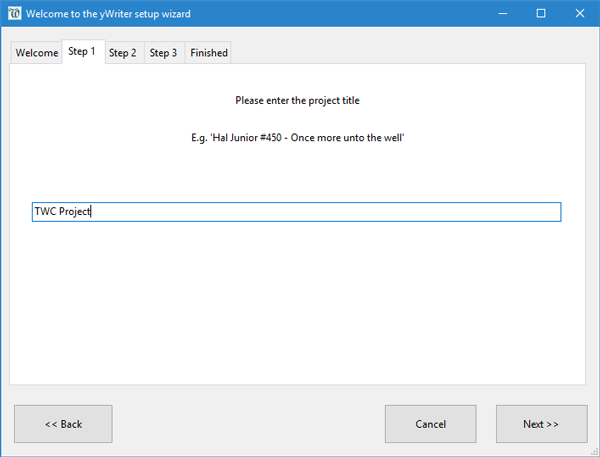
The first thing you need to do is to create a project. To do so, go to Project > New Project Wizard. Following that, you would have to go through some options to enter project title, author name, location to save, etc.

In the second step, you need to create a chapter. This is very useful when you are writing a book. You can manage all the parts of your book with ease. To generate a chapter, go to Chapter > Create new chapter. Here you have to enter the chapter name and description. After creating chapter/s, you may want to write some text for that chapter. Therefore, you can create a new scene, which can be found at Scene > Create new scene.

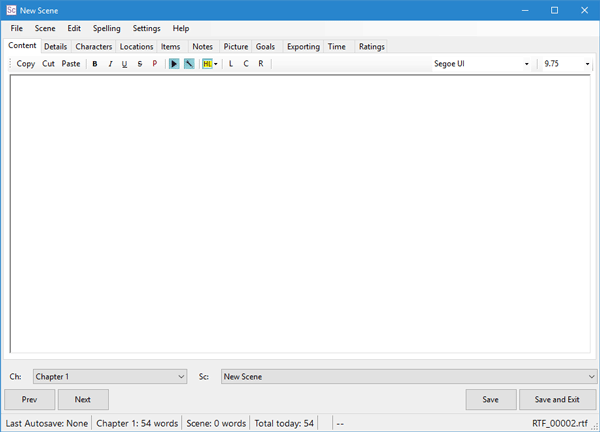
Here you can write whatever you want. Although, it doesn’t come with bullet point or numeric points (which is not that useful for a script writer) option, you can get some other basic features like cut-copy-paste, bold/italic/underline/strikethrough, etc. On the same panel, you will find options to manage characters, locations, items, etc. It is also possible to add some notes, time, ratings, etc.
After that, whenever you need to find the character you have used to create a scene, you can select the scene in Scenes panel, and navigate to other tabs to check how many locations you have used or which character you have written in that scene.
Hope this simple tool will help you to manage your next project without any problem. If you like, you can download from here.